
How to Convert ODT to DOCX on Windows
Convert an OpenDocument Text file to DOCX locally on Windows and check fonts, layout, fields, and other compatibility-sensitive content.
On this page
Quick answer
Add the .odt document to LocalFlux, choose DOCX as the output, and select Convert. The document is converted locally using the bundled document runtime, so Microsoft Word is not required for the conversion itself.
Why convert ODT to DOCX?
ODT is the OpenDocument text format. DOCX is the Office Open XML document format commonly requested by Microsoft Word users, recruiters, clients, school portals, and document-management systems.
LibreOffice’s official conversion filter table lists both OpenDocument Text and Word 2010–365 Document formats. A converter can translate between them, but the formats do not represent every layout feature identically.
Convert ODT to DOCX
- Open LocalFlux.
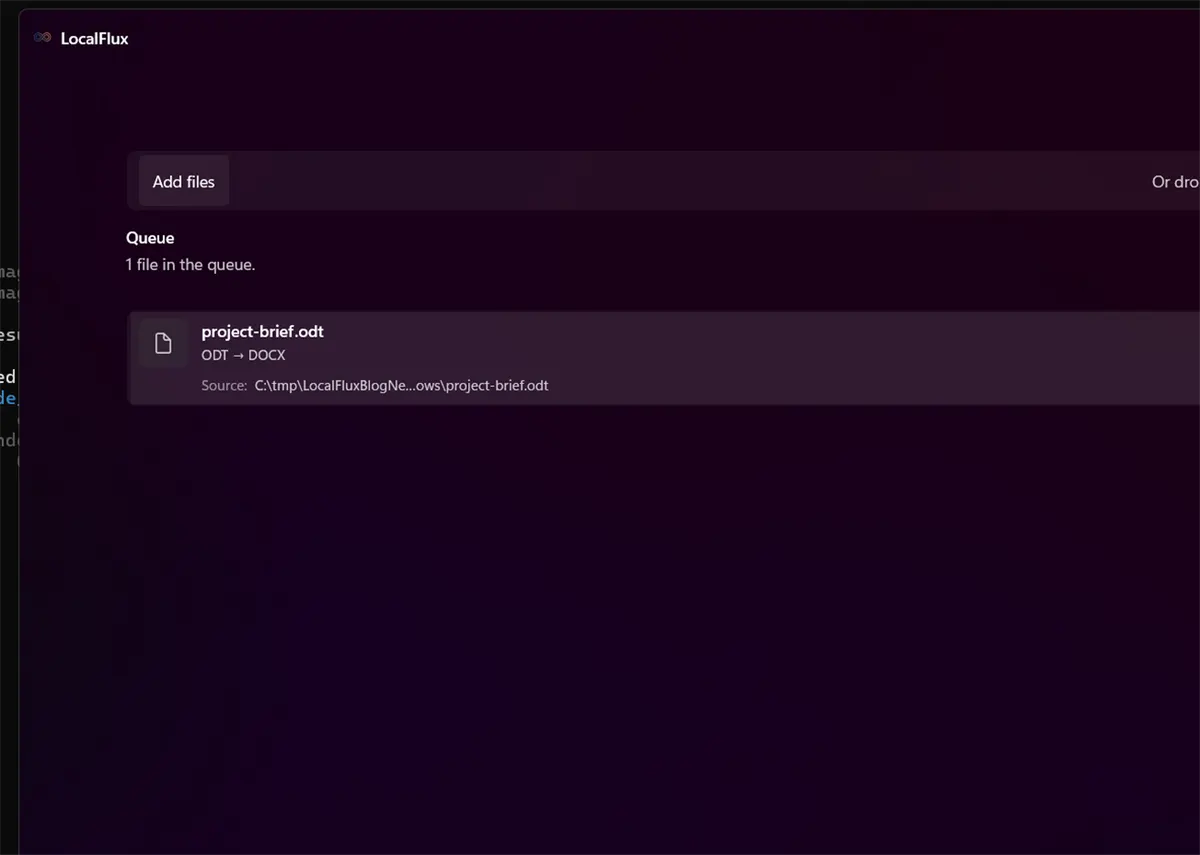
- Add the ODT file.
- Keep Convert selected.
- Open Output and choose DOCX.
- Confirm the output folder.
- Select Convert 1 file.
- Open the DOCX in the recipient’s editor and inspect it.
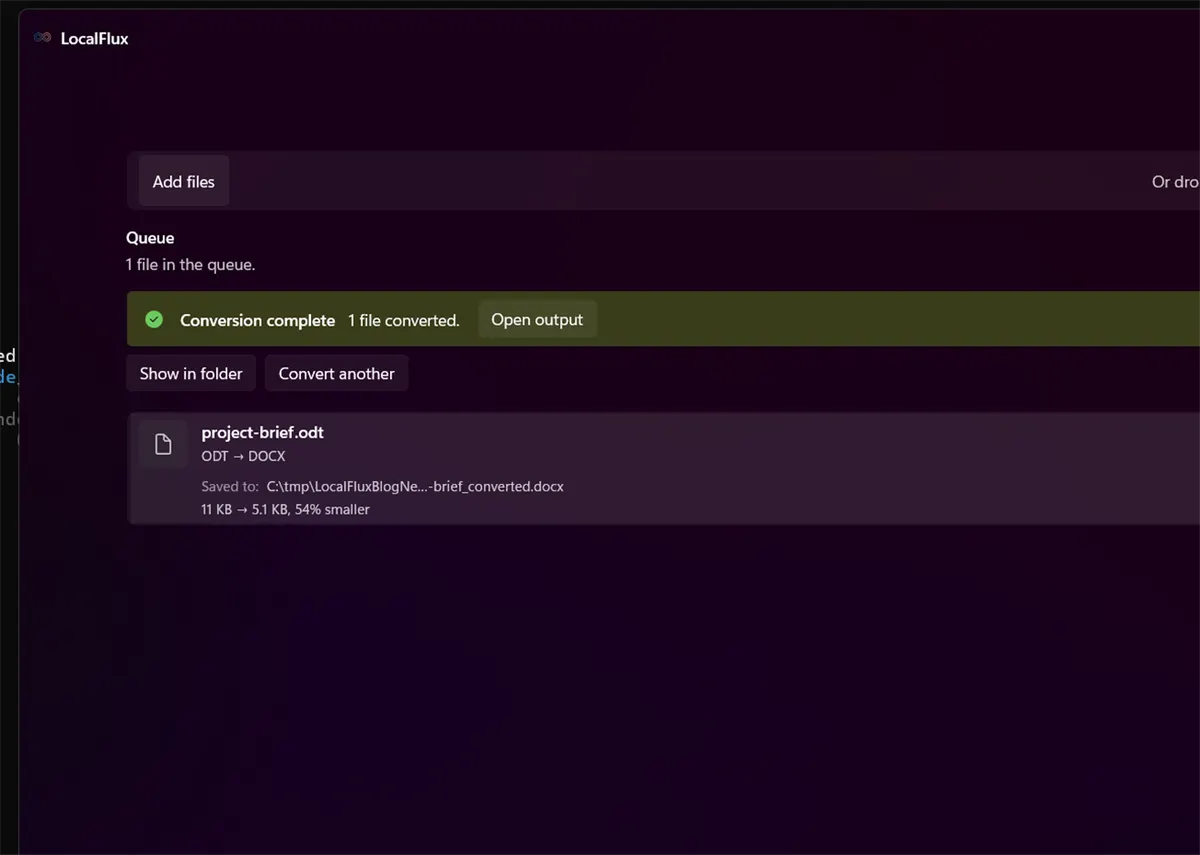
The ODT remains unchanged and the new document uses _converted.docx by default.
What we tested
| Check | Result |
|---|---|
| LocalFlux version | 1.0.7.0 |
| Route | ODT → DOCX |
| Source | project-brief.odt, 11 KB |
| Output | project-brief_converted.docx, 5.1 KB |
| Fixture | Simple privacy-safe document |
| Upload required | No |
The successful simple fixture does not prove pixel-perfect conversion of every complex document.
What can change during ODT to DOCX conversion?
- Fonts can be substituted when the recipient lacks the original font.
- Line and page breaks can move.
- Lists, tables, headers, footers, and section settings can reflow.
- Fields, references, tracked changes, comments, and embedded objects may behave differently.
- Macros and application-specific features may not translate.
This is why a completed status is the start of document QA, not the end.
A practical review checklist
Open the DOCX in Microsoft Word or the actual destination editor and check:
- The total page count.
- First and last page content.
- Headings, numbering, and table of contents.
- Tables near page boundaries.
- Headers, footers, footnotes, and endnotes.
- Images, captions, links, and special characters.
- Comments and tracked changes, if present.
For a submission with strict visual requirements, also create a PDF reference so the recipient can compare the intended layout.
ODT to DOCX or PDF?
Choose DOCX when the recipient needs to edit the document. Choose PDF when layout stability matters more than editing. If PDF is the goal, see how to convert DOCX to PDF offline.
Troubleshooting
The page count changed
Install the original fonts or replace them intentionally before conversion. Small metric differences can move text to another page.
A field or table looks wrong
Simplify unsupported constructs in a copy of the ODT, then convert again. For a critical document, make the final corrections in the destination editor.
Word reports a compatibility issue
Confirm that the output opens in another DOCX-capable editor. If only one application rejects it, save a clean copy from a current editor after inspection.
Final checklist
- Keep the ODT original.
- Review the DOCX in the recipient’s application.
- Check fonts, pagination, tables, fields, and tracked changes.
- Use PDF when fixed appearance is more important than editability.
Get LocalFlux from the Microsoft Store
Publication evidence
The screenshots and measured results come from privacy-reviewed fixtures tested with LocalFlux 1.0.7.0. The source files, outputs, and reproducibility notes are available here:
Practical checks before and after conversion
The reliable workflow is to review styles, fonts, fields, tracked changes, comments, footnotes, page breaks, tables, and embedded media; keep ODT as the editable source. This matters because changing a file extension does not preserve every property of the source. Decide what the destination actually needs, keep the source as the master, and use a small representative file before processing a large batch.
Before you start
- Record the source format and the properties that matter to the destination.
- Choose settings for the intended viewer, editor, device, or upload system.
- Use a new output folder and keep collision-safe names.
- Open the result in the software that will actually receive it.
- Compare content, dimensions or duration, and any metadata you expected to keep or remove.
Review the output
A successful status only confirms that an output was written. It does not prove that every font, frame, channel, page, formula, profile, tag, or accessibility feature survived. For important work, inspect representative outputs and retain the original until the delivered copy has been accepted.