
How to Convert AVIF to JPG or PNG on Windows
Convert AVIF images to JPG or PNG locally on Windows and choose the right output for photos, transparency, compatibility, and file size.
On this page
Quick answer
Add the AVIF image to LocalFlux, choose JPG for a conventional photo or PNG when transparency or lossless pixel storage matters, and select Convert. Everything runs locally on the Windows PC, and the original AVIF remains unchanged.
Should you convert AVIF to JPG or PNG?
Use this rule:
| Need | Choose |
|---|---|
| A photo that should open almost anywhere | JPG |
| Transparency must be retained | PNG |
| Sharp interface art or graphics | PNG |
| Usually smaller output for a photograph | JPG |
| An editable archival master | Keep the AVIF too |
AVIF is defined by the Alliance for Open Media’s AV1 Image File Format specification. It can store features that do not map neatly to every older image format. Converting is therefore a compatibility copy, not a reason to delete the source.
Convert AVIF to JPG
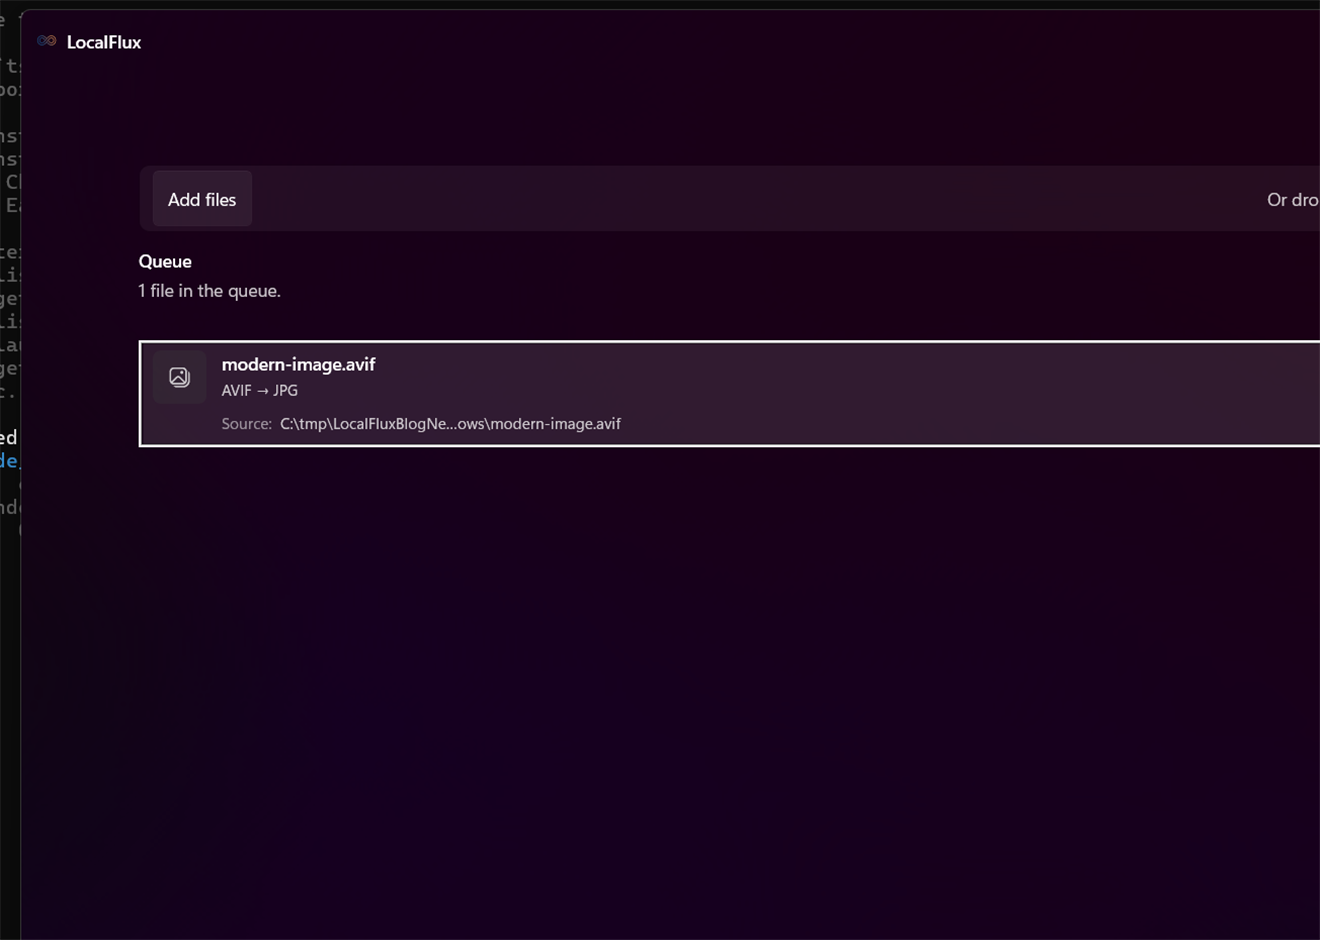
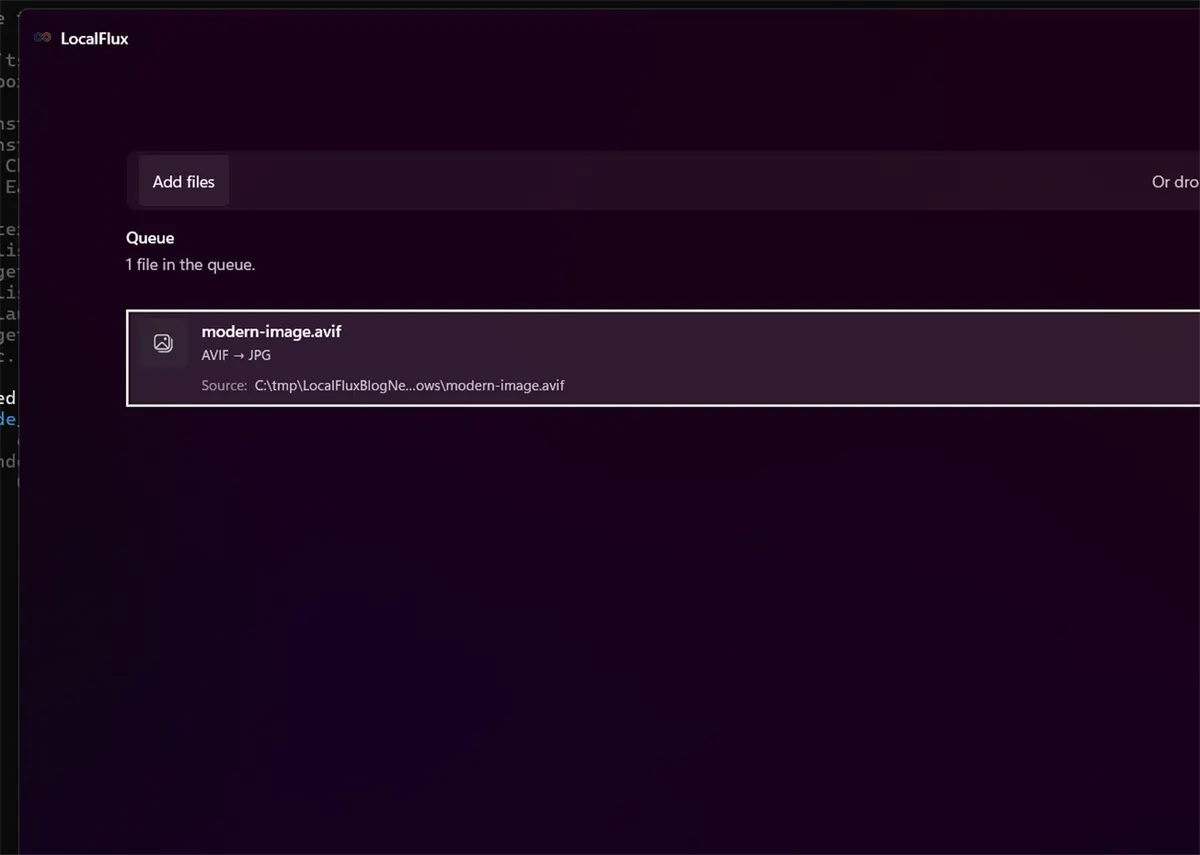
- Open LocalFlux and add the
.aviffile. - Select Convert.
- Choose JPG under Output.
- Confirm the destination.
- Select Convert 1 file.
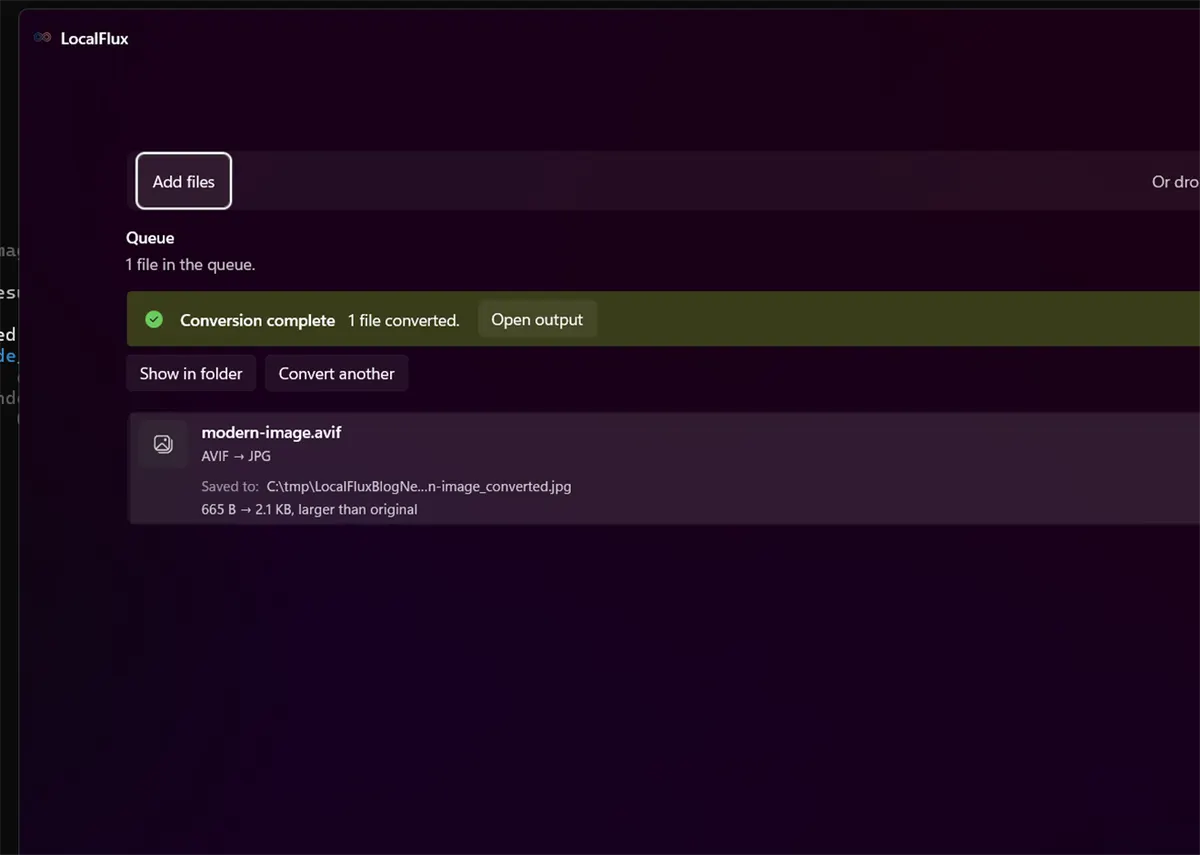
JPG is the practical choice for photographs that must work in older software, upload forms, document editors, or customer portals. It is lossy and does not support transparency.
Convert AVIF to PNG
Follow the same steps, but choose PNG from the output menu.
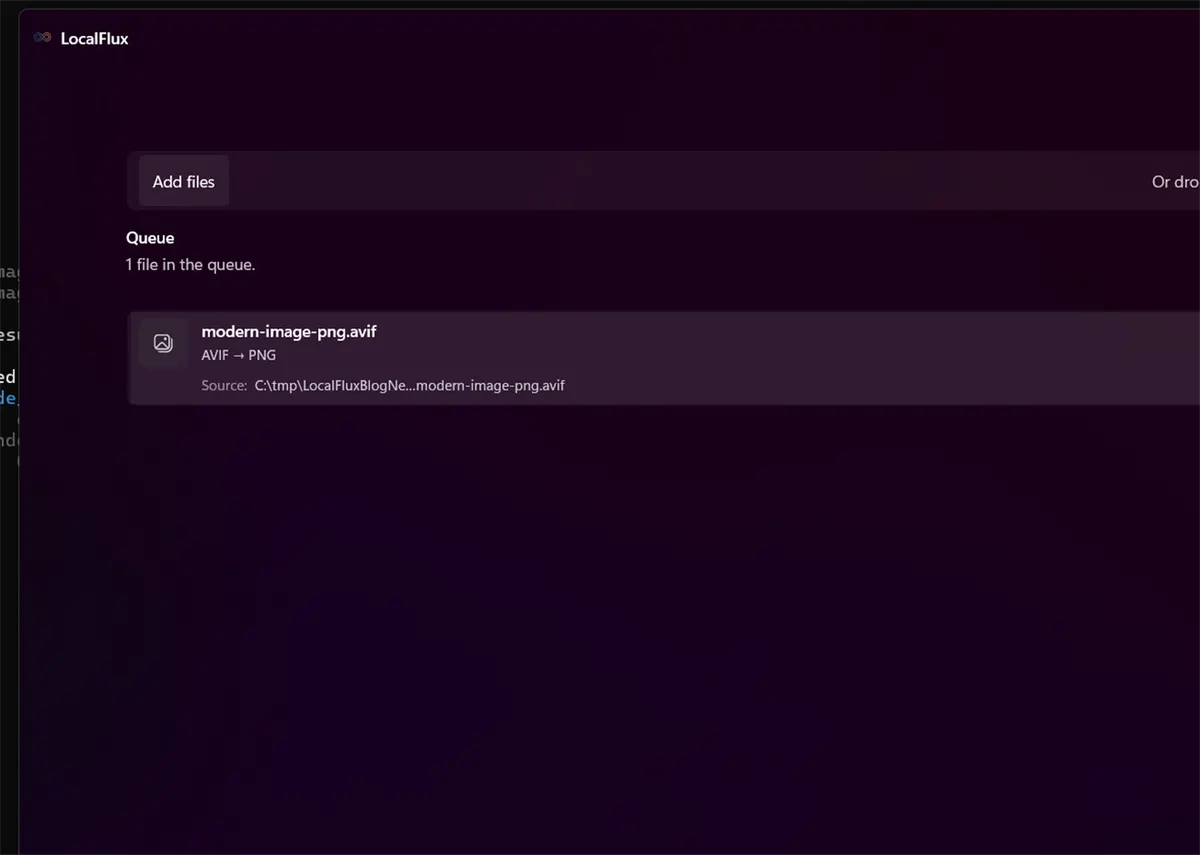
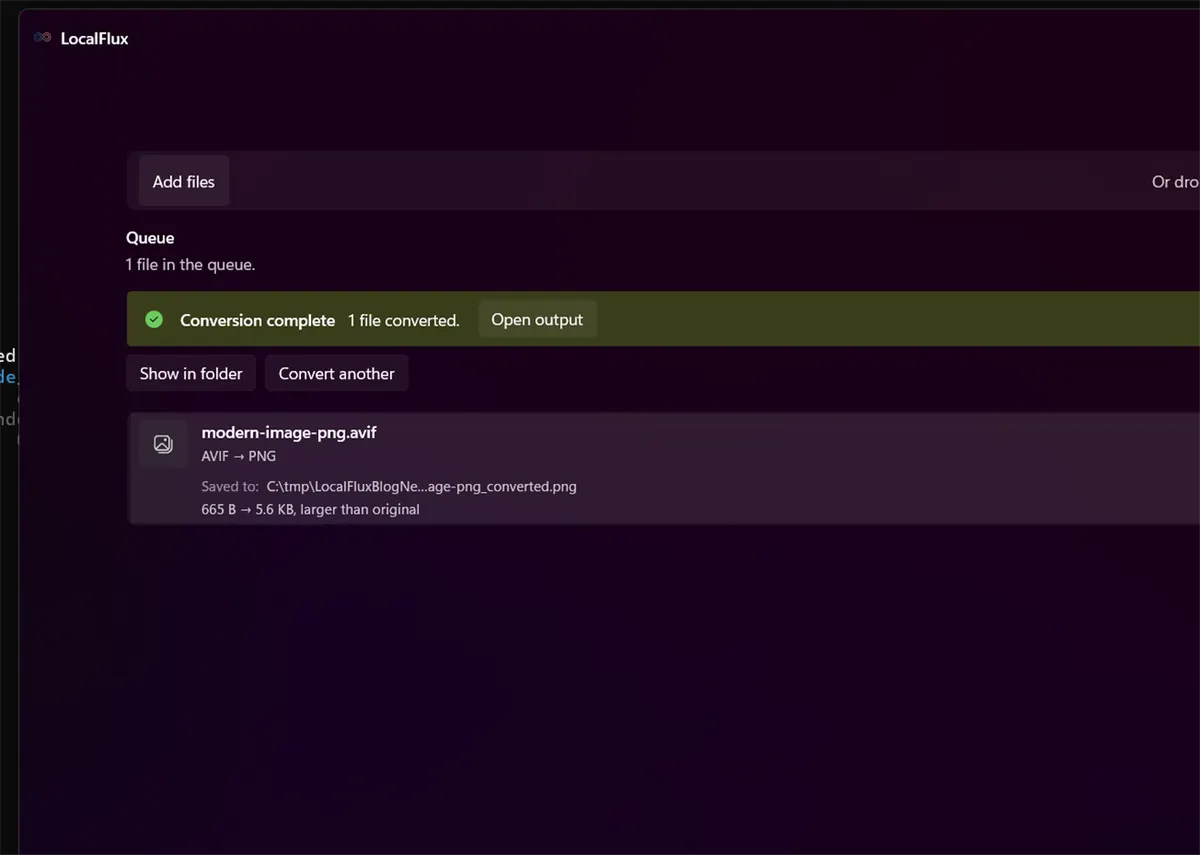
PNG is lossless at the pixel level and supports transparency. It can be much larger than AVIF or JPG, especially for photographs.
What we tested
The test used LocalFlux 1.0.7.0 and a small privacy-safe AVIF fixture.
| Output | Source size | Output size | Result |
|---|---|---|---|
| JPG | 665 B | 2.1 KB | Completed |
| PNG | 665 B | 5.6 KB | Completed |
Both outputs were larger because the source is a tiny synthetic fixture. The relative sizes are not a benchmark for real photos; they demonstrate that both routes complete and produce readable files.
What happens to transparency and HDR?
JPG cannot store an alpha channel, so transparent areas must be flattened. PNG can retain transparency when it is present and supported by the conversion path.
AVIF can also carry higher bit depth and HDR information. A conventional JPG or PNG copy may not reproduce the same dynamic range or color behavior. If color accuracy matters, compare the result in the actual destination app and keep the AVIF master.
Does AVIF conversion remove metadata?
Do not assume it does. Ordinary format conversion is about creating the requested image format, not proving that private metadata is absent. If privacy is the goal, enable LocalFlux’s Share safely option and verify the sanitized result. Read does conversion remove EXIF metadata? for a tested comparison.
Troubleshooting
The JPG has a solid background
That is expected when the source has transparency. Use PNG if transparency is required.
The PNG is surprisingly large
PNG uses lossless compression and is often inefficient for continuous-tone photographs. Use JPG for a sharing copy, or keep AVIF when the recipient supports it.
The result looks different in another app
Color-management and HDR support vary. Compare the converted file in the destination app rather than judging it only in one viewer.
Final checklist
- Pick JPG for compatibility-focused photo sharing.
- Pick PNG for transparency or crisp graphics.
- Keep the original AVIF.
- Use Share safely when metadata removal is the requirement.
Get LocalFlux from the Microsoft Store
Publication evidence
The screenshots and measured results come from privacy-reviewed fixtures tested with LocalFlux 1.0.7.0. The source files, outputs, and reproducibility notes are available here:
Practical checks before and after conversion
The reliable workflow is to inspect HDR, bit depth, animation, transparency, color profiles, and orientation; choose JPG for opaque photos and PNG when transparency or lossless pixels matter. This matters because changing a file extension does not preserve every property of the source. Decide what the destination actually needs, keep the source as the master, and use a small representative file before processing a large batch.
Before you start
- Record the source format and the properties that matter to the destination.
- Choose settings for the intended viewer, editor, device, or upload system.
- Use a new output folder and keep collision-safe names.
- Open the result in the software that will actually receive it.
- Compare content, dimensions or duration, and any metadata you expected to keep or remove.
Review the output
A successful status only confirms that an output was written. It does not prove that every font, frame, channel, page, formula, profile, tag, or accessibility feature survived. For important work, inspect representative outputs and retain the original until the delivered copy has been accepted.