
How to Convert RAW Photos to JPEG on Windows
Create compatible JPEG copies from RAW camera files locally on Windows while preserving the original RAW files for editing and archiving.
On this page
Quick answer
Add the RAW camera file to LocalFlux, choose JPG, and select Convert. LocalFlux renders a separate JPEG copy on the PC. Keep the RAW file: JPEG is a convenient delivery format, not a replacement for the camera original.
Why create a JPEG copy from RAW?
RAW files retain camera data and editing latitude. JPEGs are smaller and widely supported by browsers, messaging apps, print portals, document editors, and customer systems.
Adobe describes Digital Negative (DNG) as a publicly available archival format for camera raw information. Other cameras use maker-specific RAW extensions. In every case, conversion renders those data into a finished image.
Convert RAW to JPEG
- Open LocalFlux.
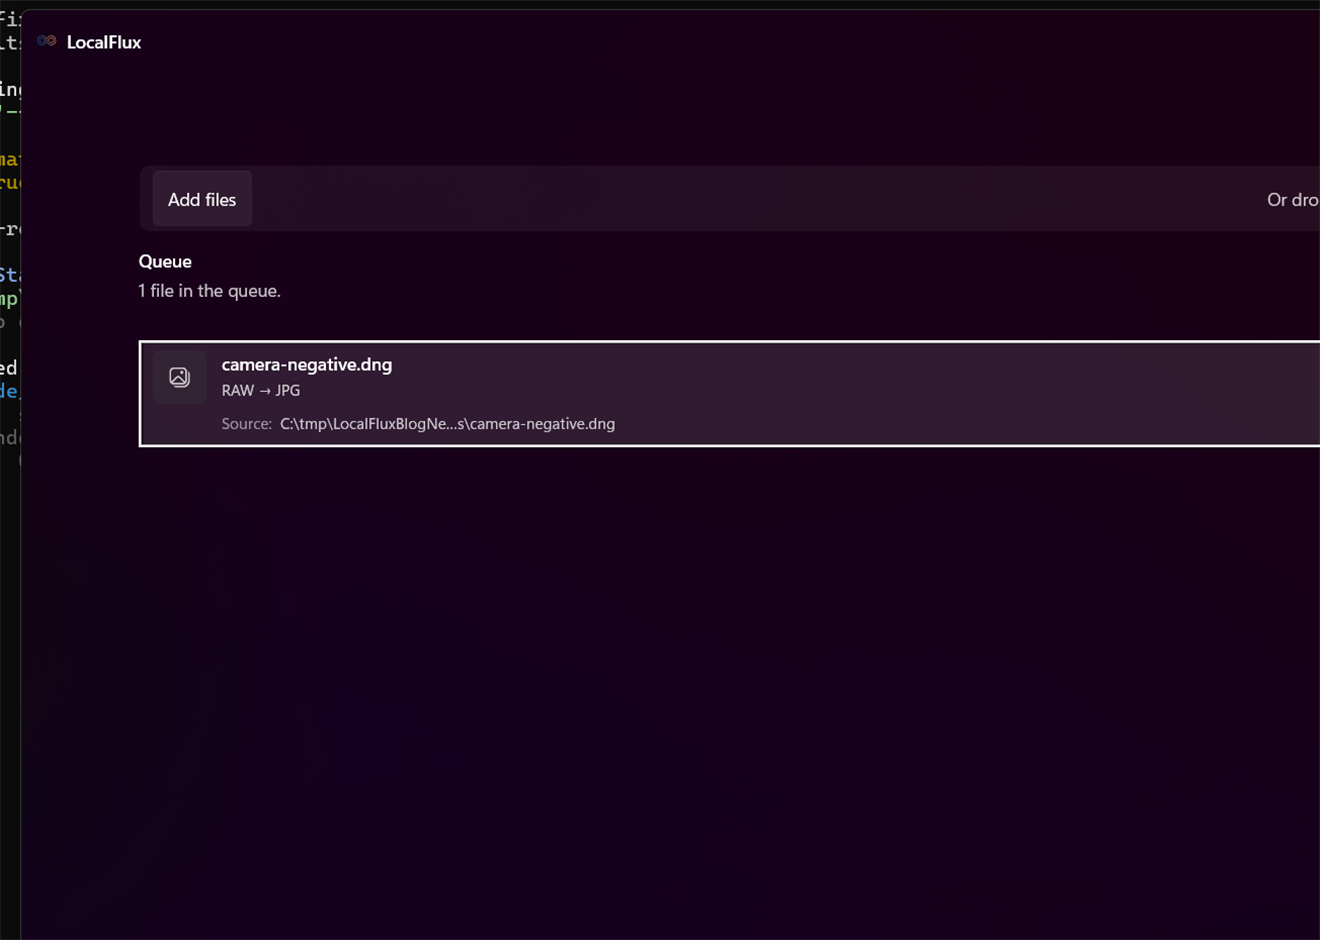
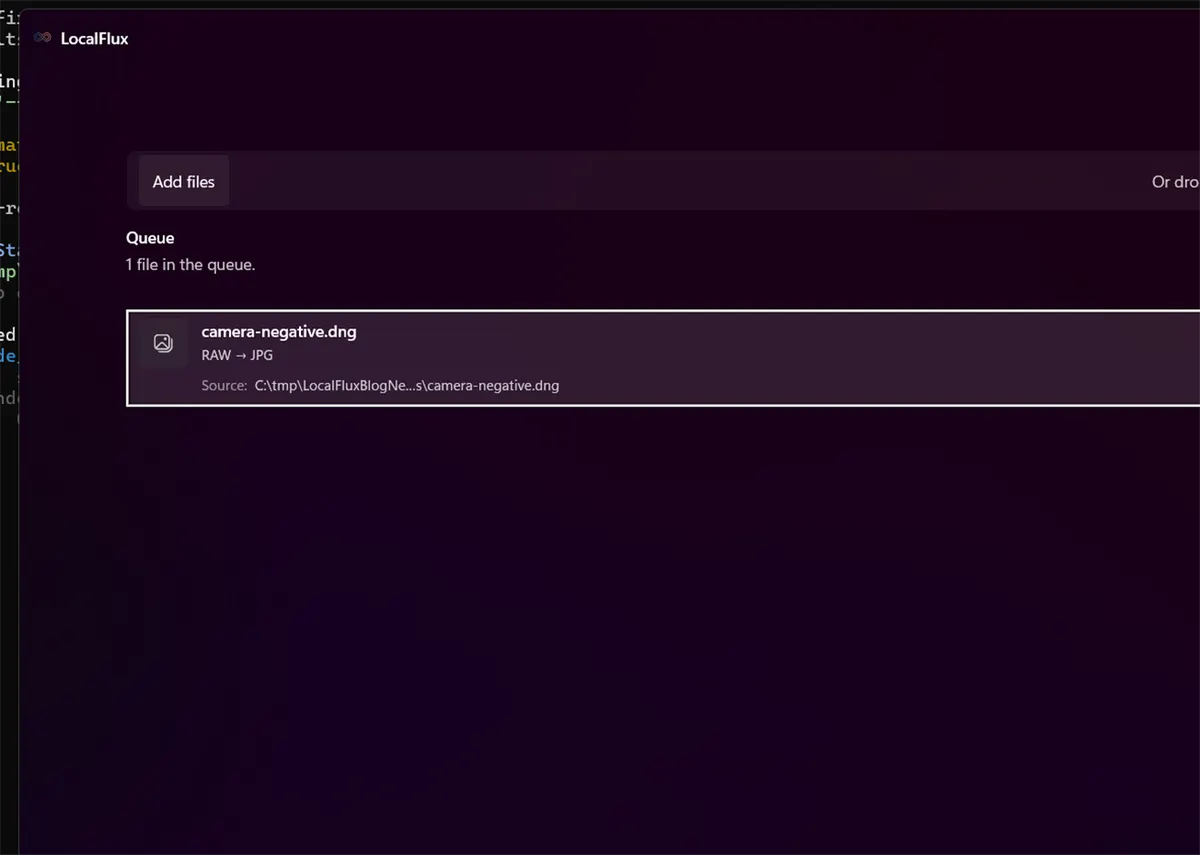
- Add the RAW file, such as a supported DNG or camera RAW file.
- Keep Convert selected.
- Choose JPG under Output.
- Confirm the output location.
- Select Convert 1 file.
- Review the finished JPEG at 100% zoom before sharing it.
What we tested
The fixture is a public-domain/CC0 DNG used by the LocalFlux test suite.
| Check | Result |
|---|---|
| LocalFlux version | 1.0.7.0 |
| Route | RAW/DNG → JPG |
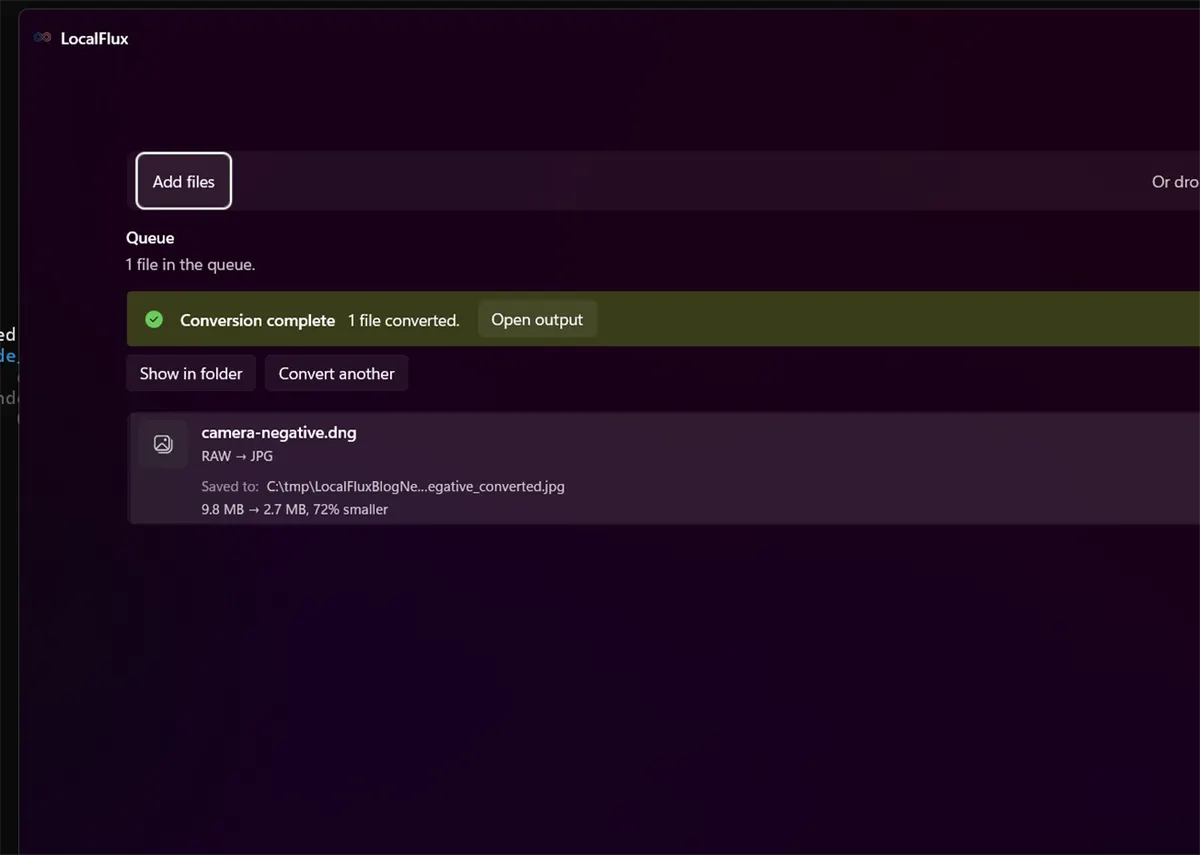
| Source | camera-negative.dng, 9.8 MB |
| Output | camera-negative_converted.jpg, 2.7 MB |
| Size change | 72% smaller |
| Upload required | No |
That reduction is typical of the difference between a RAW master and a rendered delivery copy, but it is not guaranteed for every image.
What the JPEG cannot preserve
A JPEG is a processed, lossy image. It does not preserve the same sensor-level information or editing headroom as the RAW source. White-balance recovery, highlight reconstruction, noise reduction, lens correction, and color rendering can behave differently once the image is baked into JPEG.
If a photograph matters, archive the RAW file and treat the JPEG as disposable output.
Color and brightness can change
RAW is not a single finished appearance. A converter must interpret the camera data. Its default rendering may not match the camera’s embedded preview or the adjustments made in a dedicated RAW editor.
For a carefully edited photograph, export the final JPEG from the RAW editor that contains your adjustments. Use a straightforward converter when the goal is quick compatibility and the default rendering is acceptable.
Does RAW to JPEG remove EXIF metadata?
Not necessarily. Format conversion alone is not a privacy guarantee. Camera model, capture time, and other metadata may remain in the output. Turn on Share safely when the intent is to create a verified sanitized copy, and read does conversion remove EXIF metadata? before sharing sensitive photos.
Troubleshooting
The RAW file is not recognized
RAW support varies by camera model and format revision. Preserve the original, update LocalFlux, and consider converting the source to DNG with the camera maker’s or Adobe’s supported workflow if needed.
The JPEG looks flatter or different
The camera preview may include a picture style that is not represented the same way by another converter. Use the camera maker’s software or your RAW editor when exact creative rendering is required.
The JPEG is still large
The source resolution is probably high. Choose compression as a separate step when you need a specific sharing size.
Final checklist
- Never replace the RAW master with the JPEG.
- Inspect color, highlights, shadows, sharpness, and orientation.
- Use Share safely for privacy-sensitive sharing.
- Export from your RAW editor when creative adjustments must be preserved.
Get LocalFlux from the Microsoft Store
Publication evidence
The screenshots and measured results come from privacy-reviewed fixtures tested with LocalFlux 1.0.7.0. The source files, outputs, and reproducibility notes are available here:
Practical checks before and after conversion
The reliable workflow is to treat camera RAW as the negative; demosaicing, white balance, exposure, noise reduction, lens correction, crop, and color space determine the rendered JPEG. This matters because changing a file extension does not preserve every property of the source. Decide what the destination actually needs, keep the source as the master, and use a small representative file before processing a large batch.
Before you start
- Record the source format and the properties that matter to the destination.
- Choose settings for the intended viewer, editor, device, or upload system.
- Use a new output folder and keep collision-safe names.
- Open the result in the software that will actually receive it.
- Compare content, dimensions or duration, and any metadata you expected to keep or remove.
Review the output
A successful status only confirms that an output was written. It does not prove that every font, frame, channel, page, formula, profile, tag, or accessibility feature survived. For important work, inspect representative outputs and retain the original until the delivered copy has been accepted.
Related local workflows
Continue with How to Convert TIFF to JPG on Windows Without Uploading when that file or delivery requirement appears in the same project.