
How to Convert XLSX to CSV on Windows
Convert an Excel workbook to CSV locally on Windows, and understand what happens to formulas, formatting, and multiple worksheets.
On this page
Quick answer
Add the .xlsx workbook to LocalFlux, choose CSV as the output, and select Convert. The conversion runs locally and creates a plain-text CSV copy without requiring Microsoft Excel.
CSV is a data-exchange format. It is not a full workbook format, so it cannot retain everything in XLSX.
What XLSX to CSV keeps and what it cannot keep
RFC 4180 documents the common CSV structure: records separated by line breaks and fields separated by commas, with quoting rules for commas, quotes, and line breaks inside values.
That simple structure is why CSV works with databases, scripts, analytics tools, and import screens. It is also why conversion has limits.
| Workbook feature | CSV result |
|---|---|
| Cell values | Kept as text fields |
| Rows and columns | Kept |
| Formulas | Usually exported as their displayed results, not reusable formulas |
| Fonts, colors, borders | Not kept |
| Charts and images | Not kept |
| Multiple worksheets | Cannot fit into one ordinary CSV |
| Cell types and validation | Not fully preserved |
Keep the XLSX as the editable source of truth.
Convert XLSX to CSV in LocalFlux
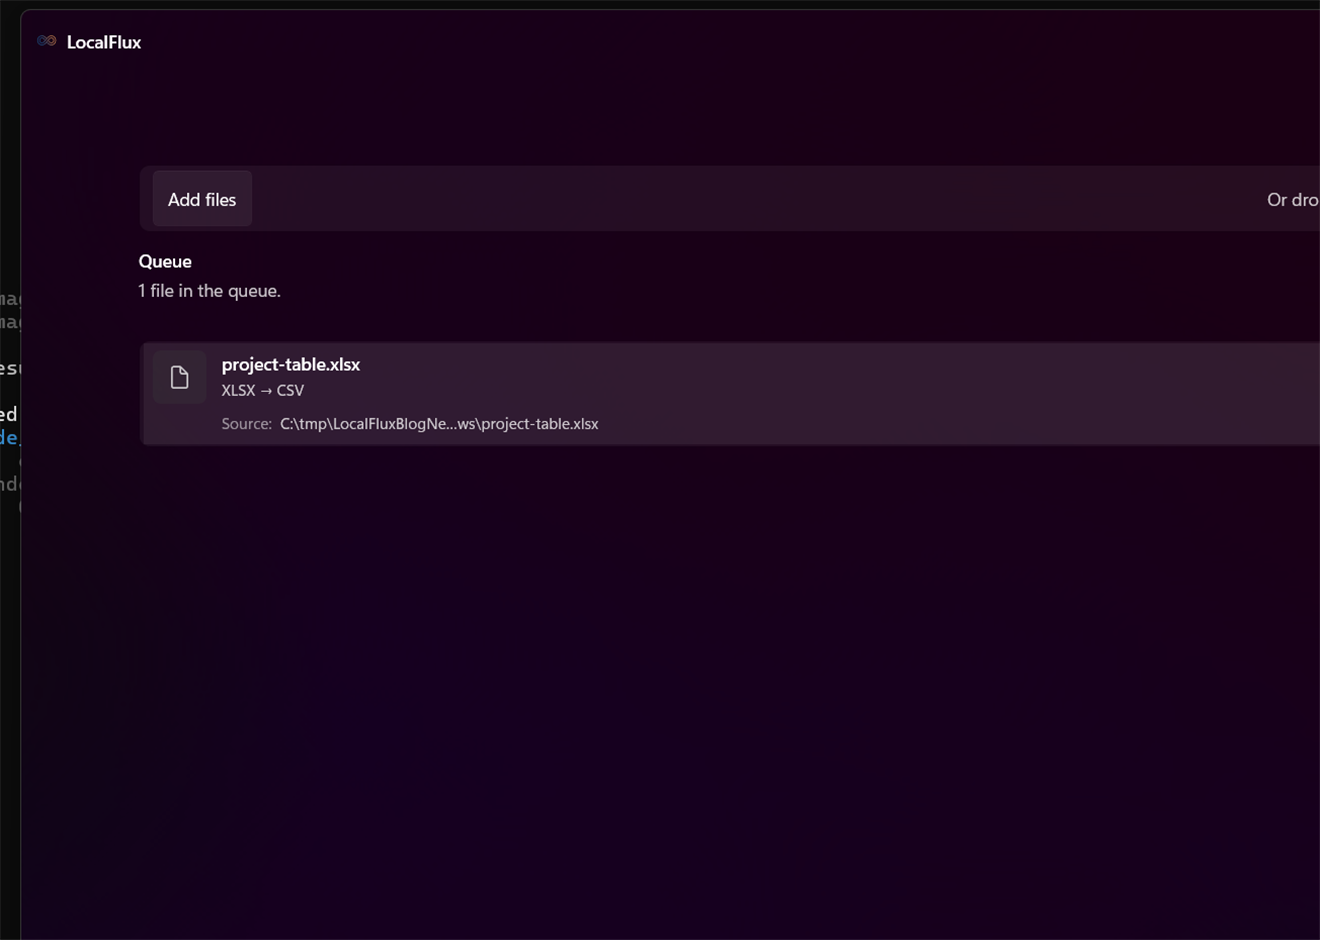
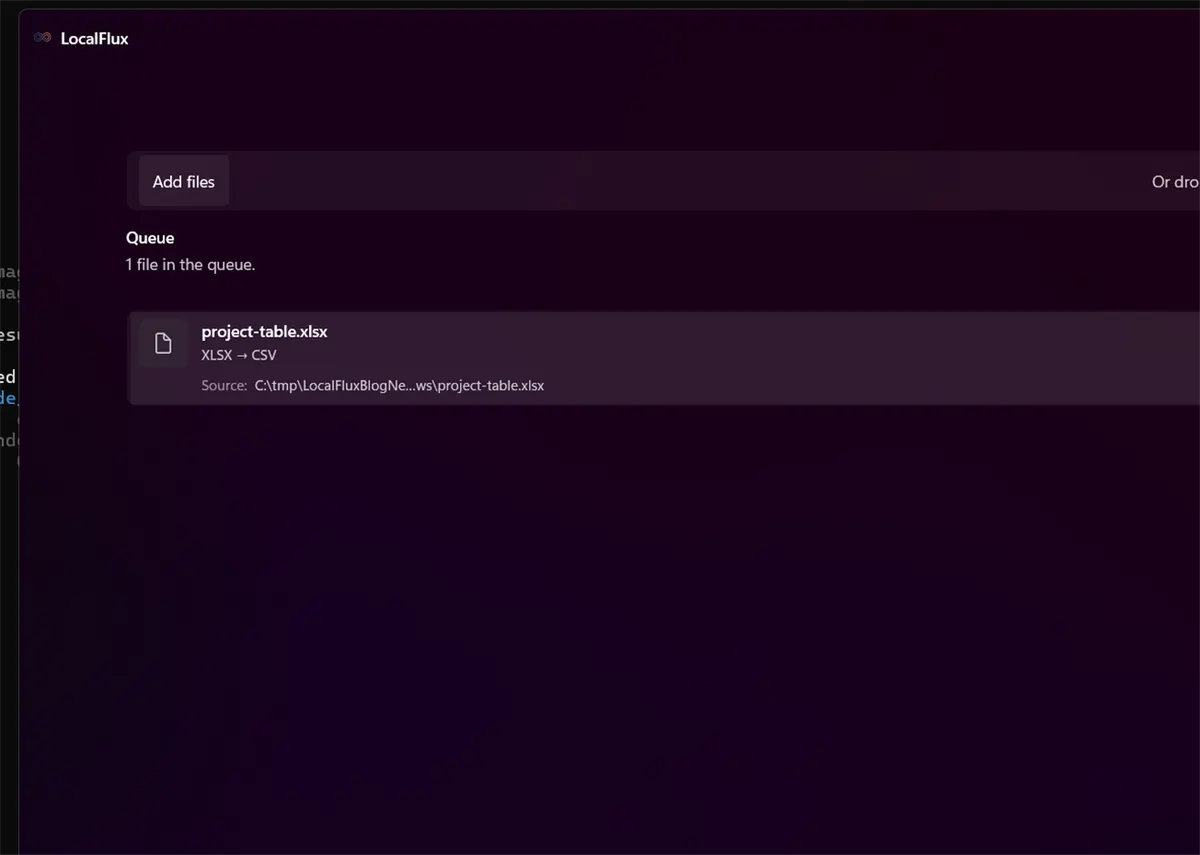
- Open LocalFlux and add the workbook.
- Leave Convert selected.
- Open the Output menu and choose CSV.
- Confirm the destination.
- Select Convert 1 file.
- Open the CSV in a text editor or the system that will import it.
LocalFlux uses its bundled document conversion runtime, so Excel does not need to be installed for this route.
What we tested
| Check | Result |
|---|---|
| LocalFlux version | 1.0.7.0 |
| Route | XLSX → CSV |
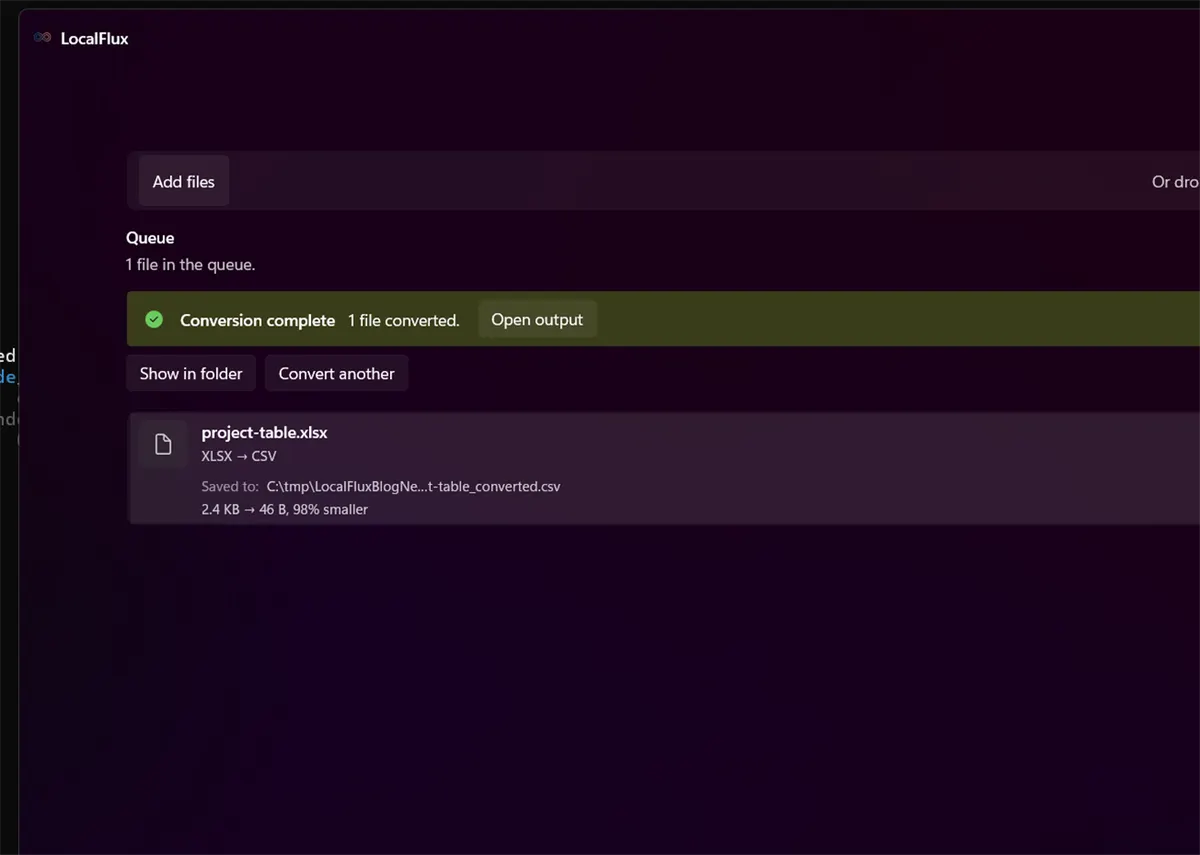
| Source | project-table.xlsx, 2.4 KB |
| Output | project-table_converted.csv, 46 B |
| Fixture | Simple, single-sheet table |
| Upload required | No |
The small output is expected because CSV contains only the table text. It does not demonstrate how a complex workbook with several worksheets will be represented.
Check these details before importing the CSV
Delimiters and quoting
Values containing commas, quotes, or line breaks need quoting. Do not manually split rows on commas with a simplistic script; use a CSV-aware parser.
Dates and leading zeroes
A value such as 00123 may be interpreted as the number 123 when another spreadsheet app opens the CSV. Dates can also be reformatted according to locale. Inspect the raw text or set the destination import types explicitly.
Character encoding
If names or international characters look wrong, check which encoding the receiving system expects. A valid CSV can still be misread by an importer using a different encoding assumption.
Multiple worksheets
CSV represents one flat table. If the workbook has several important sheets, export and validate them separately rather than expecting one CSV to retain the workbook structure.
When CSV is the wrong output
Use CSV for data transfer. Use XLSX when formulas, types, worksheets, formatting, and charts still matter. Use PDF when the goal is a fixed visual copy; see how to convert XLSX to PDF without Excel.
Final checklist
- Keep the XLSX original.
- Confirm which worksheet and values you need.
- Inspect dates, leading zeroes, commas, quotes, and non-English text.
- Test the CSV in the real destination system.
Get LocalFlux from the Microsoft Store
Publication evidence
The screenshots and measured results come from privacy-reviewed fixtures tested with LocalFlux 1.0.7.0. The source files, outputs, and reproducibility notes are available here:
Practical checks before and after conversion
The reliable workflow is to choose the intended worksheet and delimiter; decide how formulas, dates, locale-specific decimals, encodings, line breaks, and leading zeros should become text. This matters because changing a file extension does not preserve every property of the source. Decide what the destination actually needs, keep the source as the master, and use a small representative file before processing a large batch.
Before you start
- Record the source format and the properties that matter to the destination.
- Choose settings for the intended viewer, editor, device, or upload system.
- Use a new output folder and keep collision-safe names.
- Open the result in the software that will actually receive it.
- Compare content, dimensions or duration, and any metadata you expected to keep or remove.
Review the output
A successful status only confirms that an output was written. It does not prove that every font, frame, channel, page, formula, profile, tag, or accessibility feature survived. For important work, inspect representative outputs and retain the original until the delivered copy has been accepted.
Related local workflows
Continue with How to Convert CSV to XLSX Offline on Windows when that file or delivery requirement appears in the same project.