
How to Compress an Image to 100 KB on Windows Without Uploading It
An application form, client portal, marketplace, or email system may accept an image only when it is below a fixed file-size limit. That creates a more specific problem than simply making the picture “smaller”: the result must fit under the limit while retaining as much useful detail as possible.
You can repeatedly adjust a quality slider, save another copy, and check the file size. Or you can use a target-size workflow that searches for the best result below the ceiling on your Windows PC.
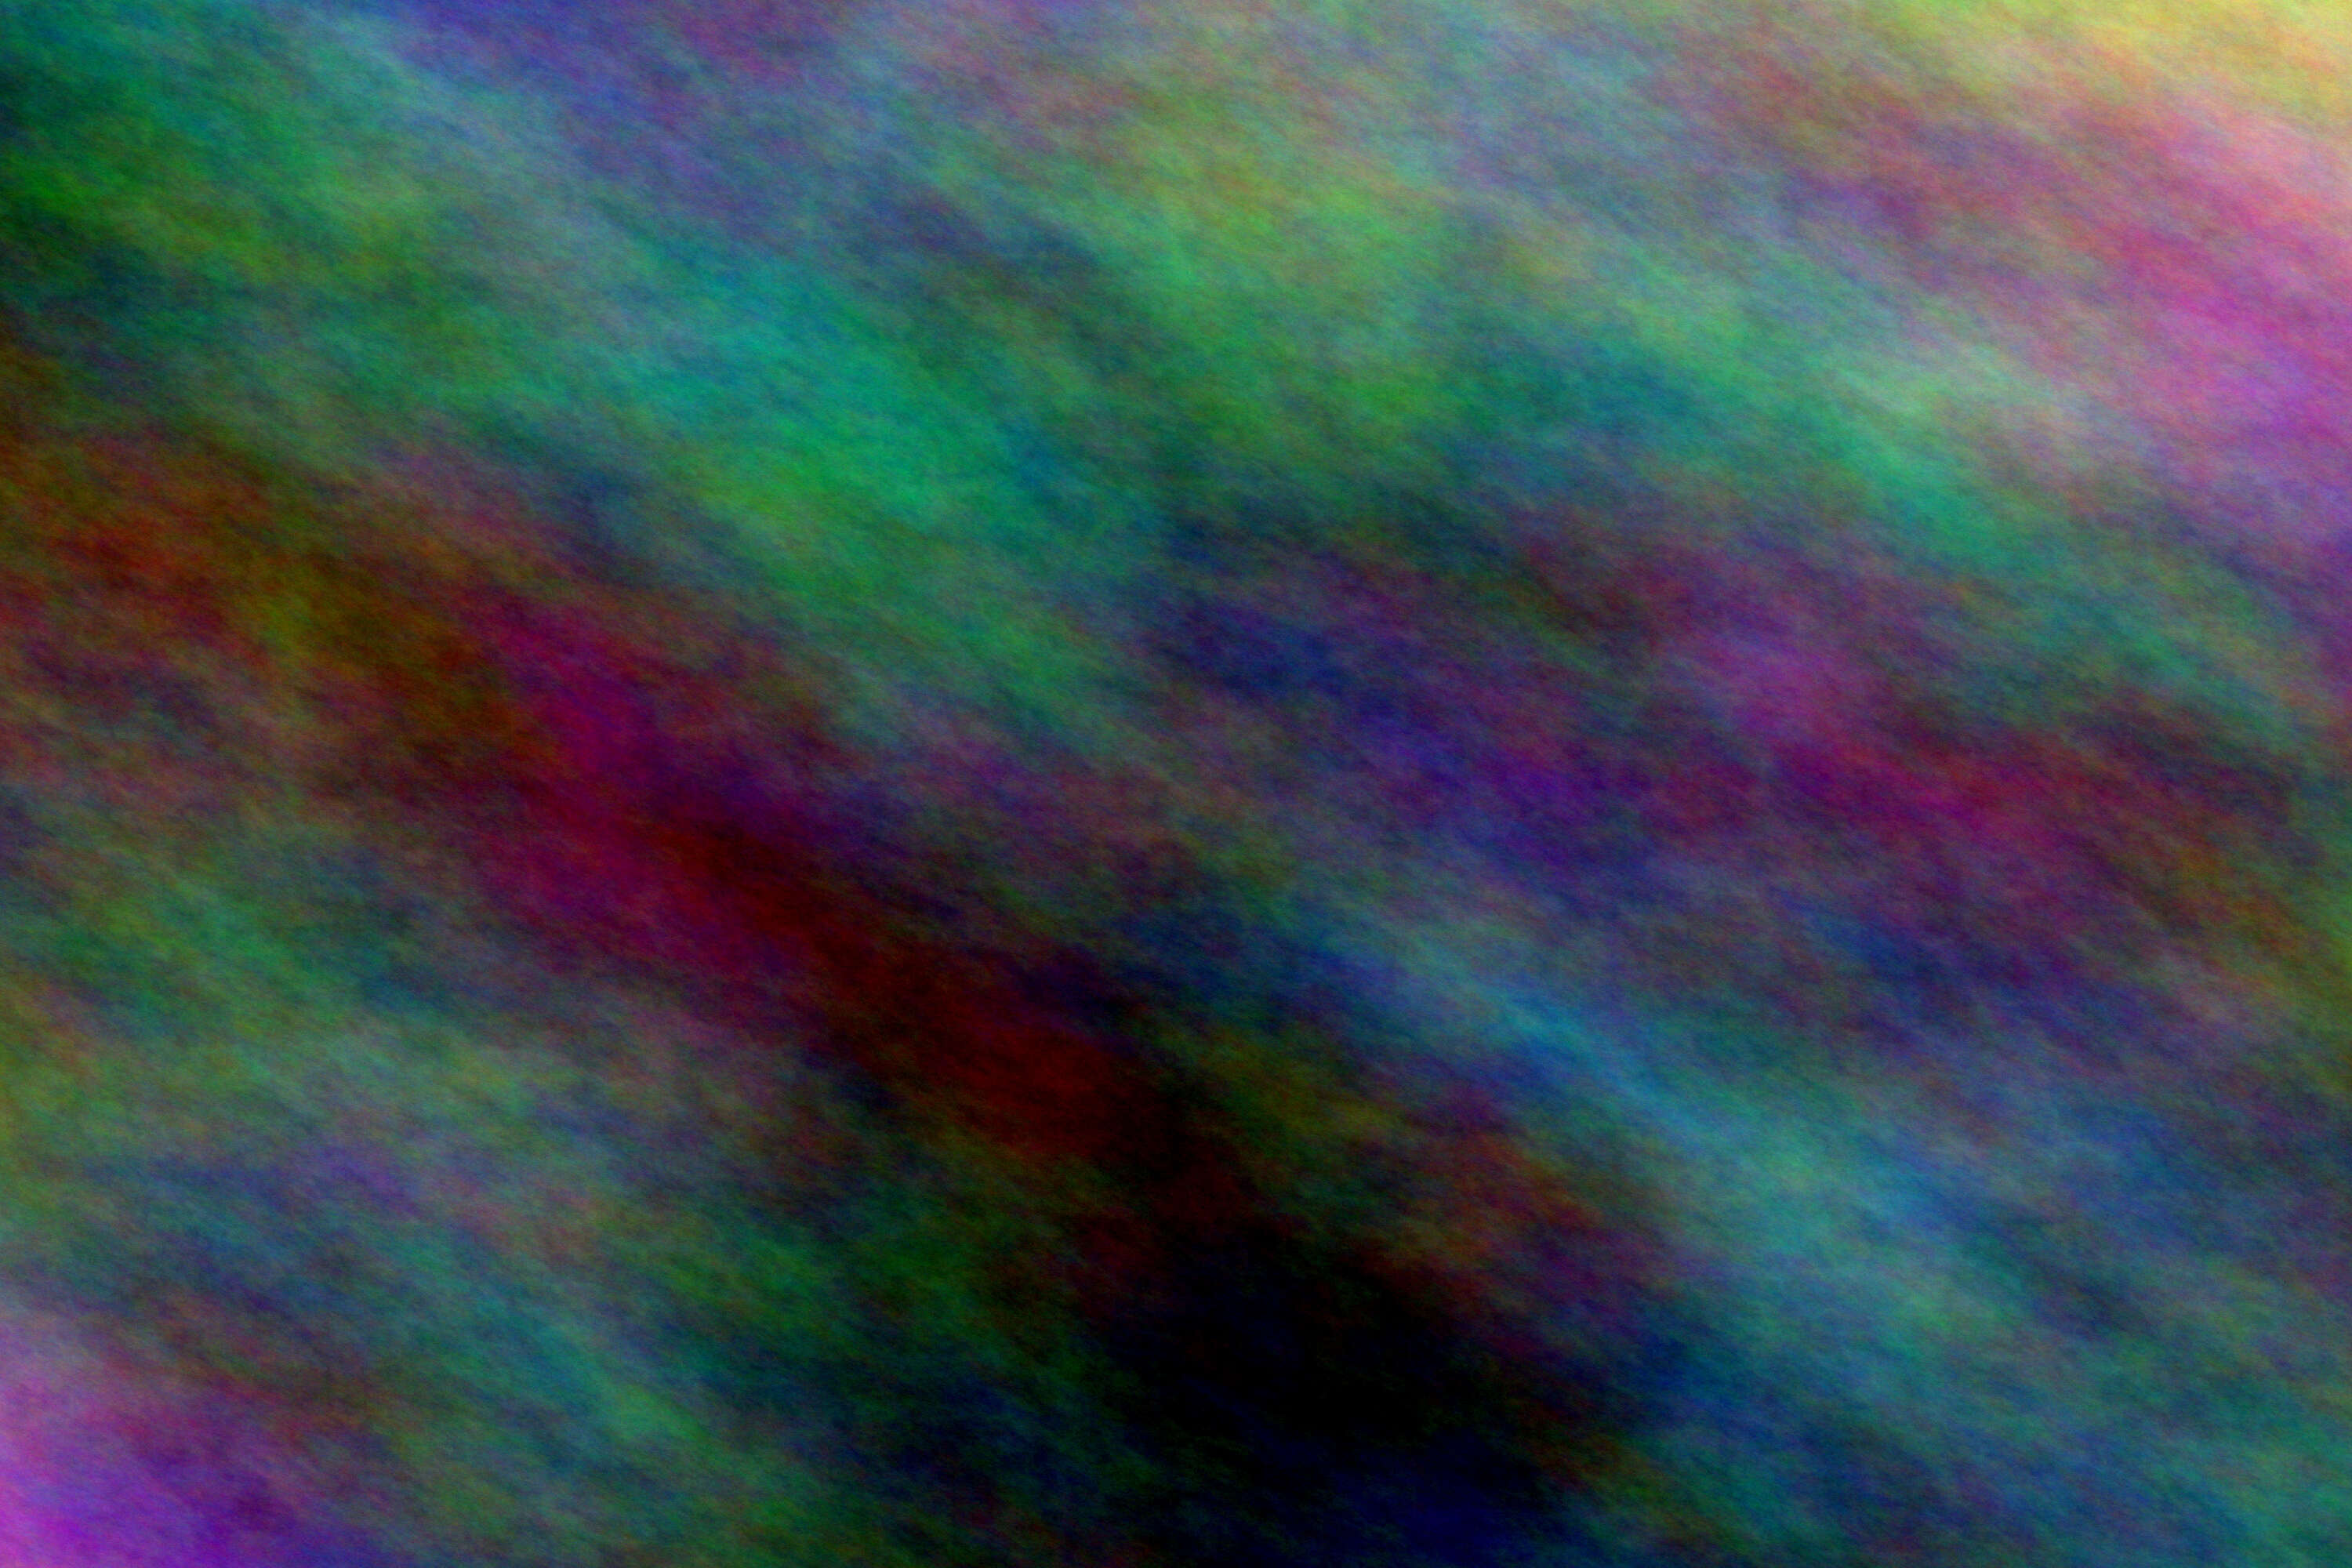
For this walkthrough, we compressed one generated 3000 × 2000 JPEG with LocalFlux 1.0.7.0. The source was 4,281,079 bytes. The two tested results were:
| Target | Actual output | Dimensions | Reduction |
|---|---|---|---|
| Under 100 KB | 101,191 bytes (98.8 KB in the app) | 1675 × 1117 | 97.64% |
| Under 500 KB | 497,544 bytes (485.9 KB in the app) | 3000 × 2000 | 88.38% |
Both outputs stayed below their requested ceilings, and the original remained unchanged.
Measured example, not a universal result: The size and dimensions LocalFlux can retain depend on the format, content, noise, existing compression, and requested limit. A different image may need more or less resizing, or may be unable to reach an extremely small target acceptably.
Get LocalFlux from the Microsoft Store
The short answer
To compress a supported image to 100 KB with LocalFlux:
- Open LocalFlux and choose Compress.
- Add a JPG, PNG, or WebP image.
- Open Options and select Target size.
- Choose Under 100 KB. You can instead choose Under 500 KB or a custom maximum.
- Select Compress.
- Review the reported output size, dimensions, and visual quality before submitting the copy.
LocalFlux writes a new _compressed file and leaves the source untouched.
Why an exact size limit is harder than a quality setting
Image encoders normally expose settings such as quality, compression effort, dimensions, or format. Those controls affect file size, but they do not promise a particular number of bytes.
Two JPEGs saved at the same quality can differ substantially because their pixels differ. A smooth sky is relatively predictable; hair, foliage, fabric, text, grain, and sensor noise can require more data. A PNG illustration with a limited palette behaves differently from a detailed photograph. WebP can use either lossy or lossless compression.
The official PNG specification defines PNG as a lossless format with optional alpha transparency. Google’s WebP documentation describes both lossy and lossless modes as well as transparency. Those format differences are why one universal “quality 80 equals 100 KB” rule cannot work reliably.
A target-size workflow turns the question around. Instead of asking, “What size will quality 80 produce?”, it asks, “What is the best candidate that fits below this size?”
Before you start
This article uses a controlled, reproducible setup rather than a private photo:
| Item | Tested value |
|---|---|
| App | LocalFlux 1.0.7.0 local x64 test build |
| Windows | Windows 11 x64, build 26200 |
| Source | Locally generated synthetic JPEG; no personal content |
| Source dimensions | 3000 × 2000 |
| Source size | 4,281,079 bytes (4.1 MB in LocalFlux) |
| Workflow | Compress → Target size → Under 100 KB / Under 500 KB |
| Destination | Same folder as source |
The fixture deliberately contains detailed color variation. It is useful for demonstrating a target search, but it is not representative of every camera photo, illustration, screenshot, or already-optimized download.
How to compress an image to 100 KB with LocalFlux
1. Add the image and choose Compress
Open LocalFlux, switch to Compress, and add the image. Drag and drop works, or you can use Add files.
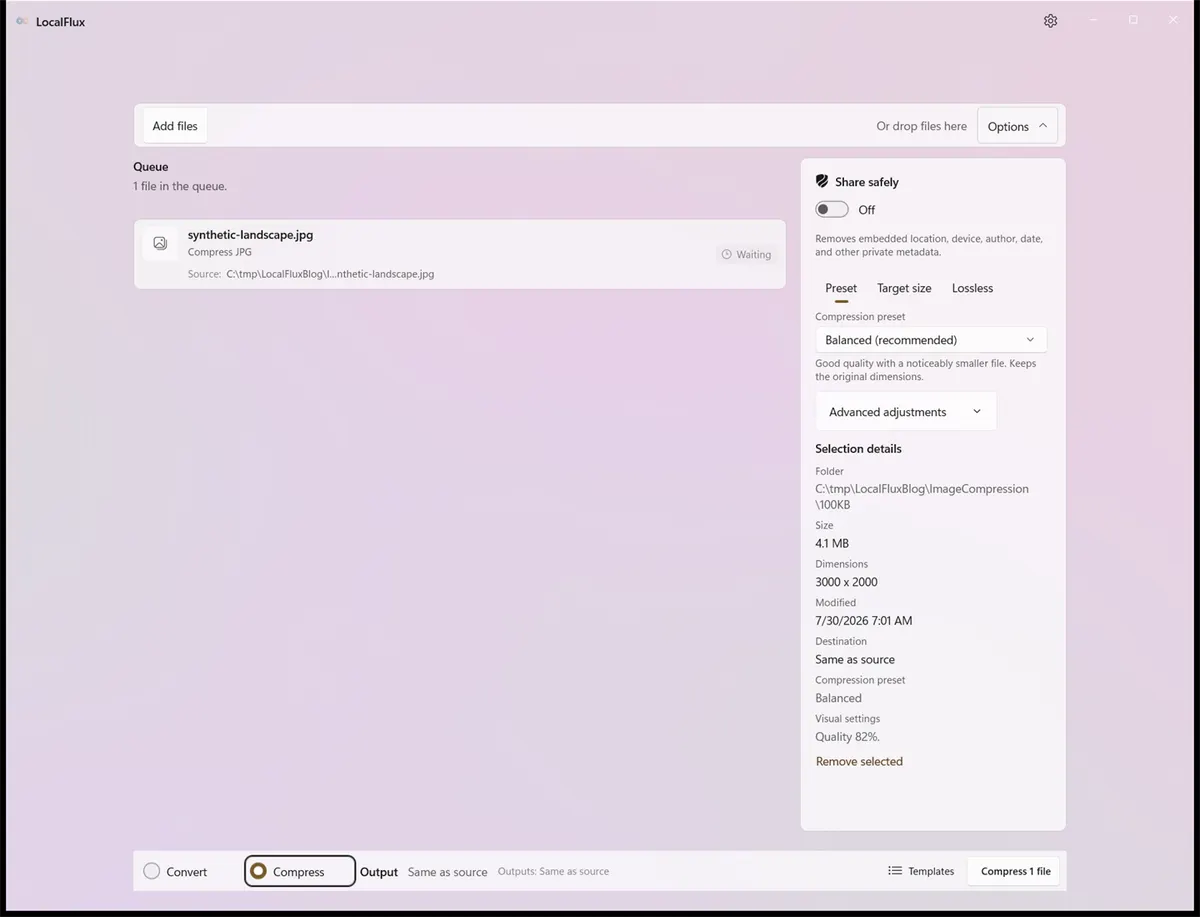
The source is ready in Compress mode. Every visible path is inside the neutral C:\tmp\LocalFluxBlog capture folder.
Compress mode keeps the supported source format rather than turning the file into an unrelated type. In this test, a JPG produced another JPG.
2. Choose Target size
Open Options, select Target size, and choose Under 100 KB from the outcome menu.
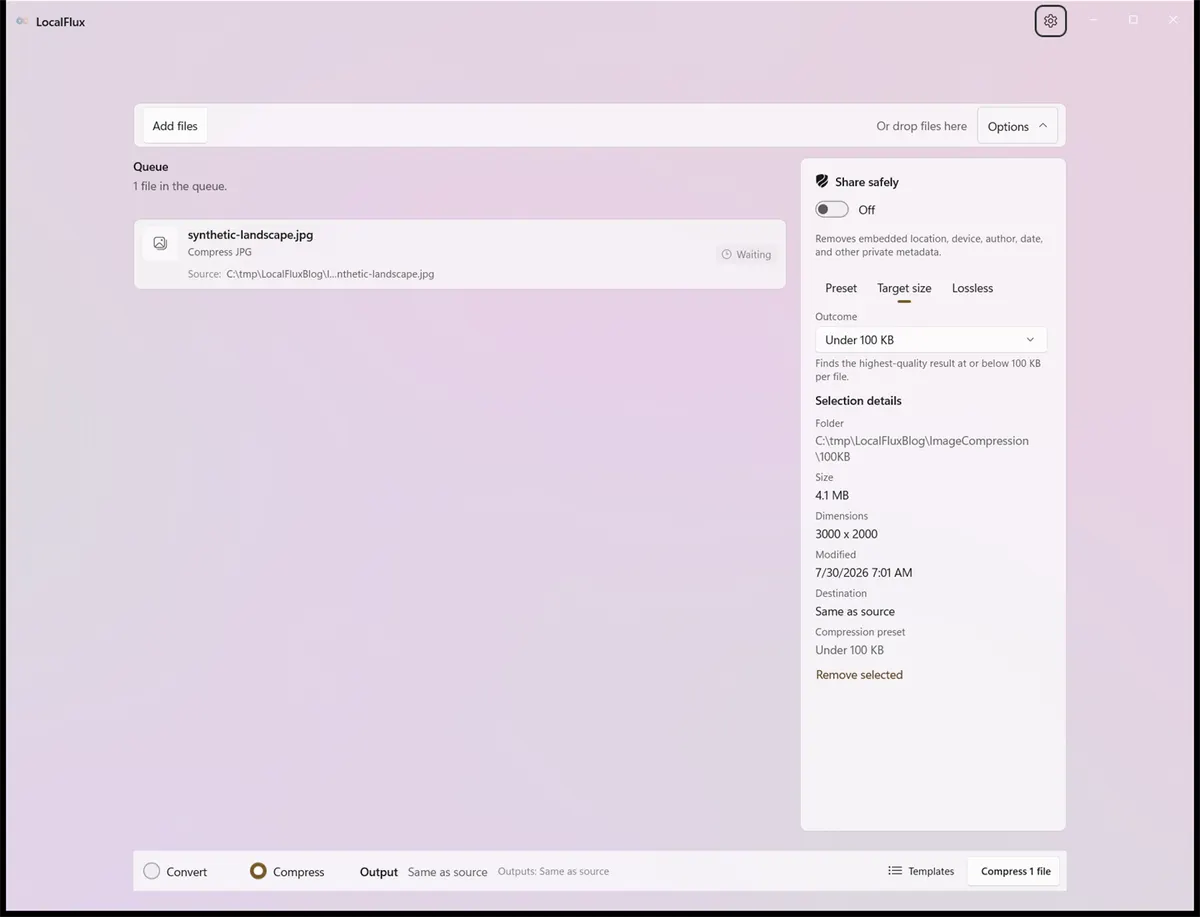
Under 100 KB searches for the highest-quality candidate at or below the target for each file.
In this LocalFlux version, target-size compression is available for supported JPG, PNG, and static WebP images. Other compression routes may offer presets or verified lossless optimization instead. The available controls are intentionally format-aware.
3. Start the search
Select Compress 1 file. LocalFlux evaluates candidates locally. The queue shows an active conversion while the app searches.
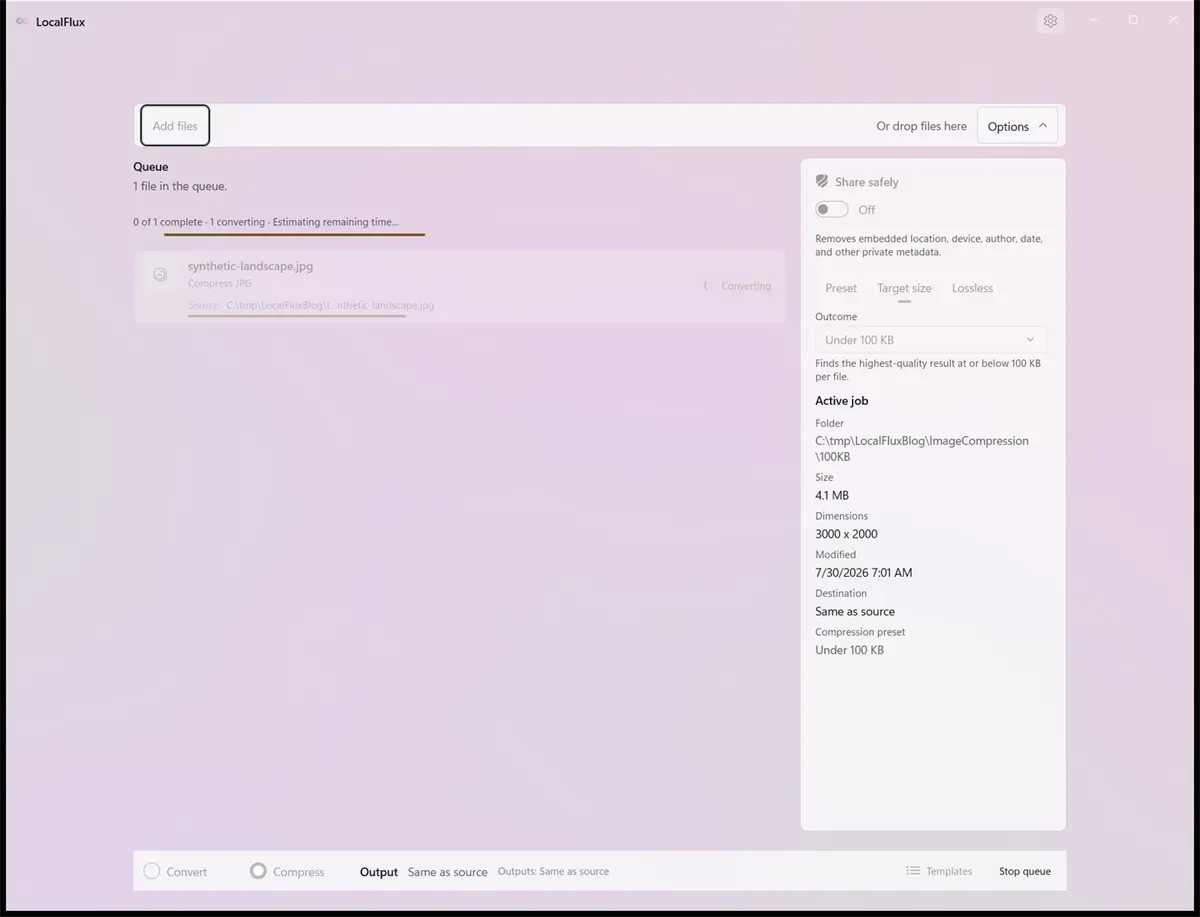
The target search is running on the PC. The source remains in place while a temporary candidate is evaluated.
Current LocalFlux target-size searches make a bounded number of encoding attempts. They can also reduce dimensions when quality changes alone are insufficient. The image is never enlarged, its aspect ratio is preserved, and the search will not shrink below a 640-pixel long edge.
If the limit cannot be reached within that boundary, LocalFlux fails the job instead of presenting an oversized file as a successful result.
4. Review the completed result
The app reports the measured source size, output size, percentage saved, final dimensions, and target usage.
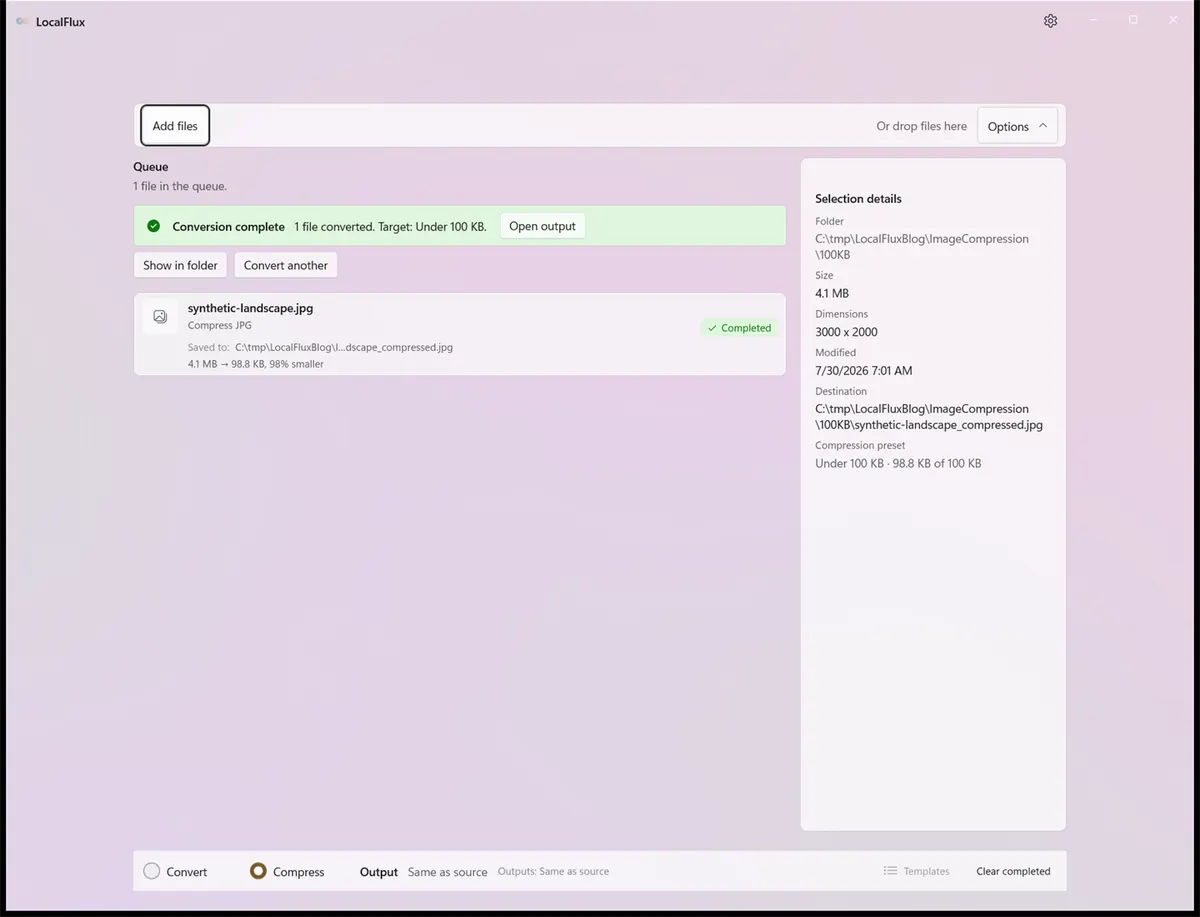
The 100 KB test completed at 98.8 KB. The selection details show 98.8 KB of the 100 KB target.
The exact file was 101,191 bytes, below the 102,400-byte ceiling used by this outcome. The search reduced the dimensions from 3000 × 2000 to 1675 × 1117 while preserving the image’s approximate 3:2 aspect ratio.
Open the result and inspect it at the size at which it will actually be used. Pay particular attention to:
- small text and thin lines;
- faces, hair, foliage, and fabric;
- gradients and dark areas;
- sharp high-contrast edges; and
- any detail the recipient must evaluate.
Passing a byte limit does not automatically mean the result is suitable for its purpose.
What changes with a 500 KB target?
A less aggressive ceiling gives the encoder more room. We repeated the same workflow with the same source copy and selected Under 500 KB.
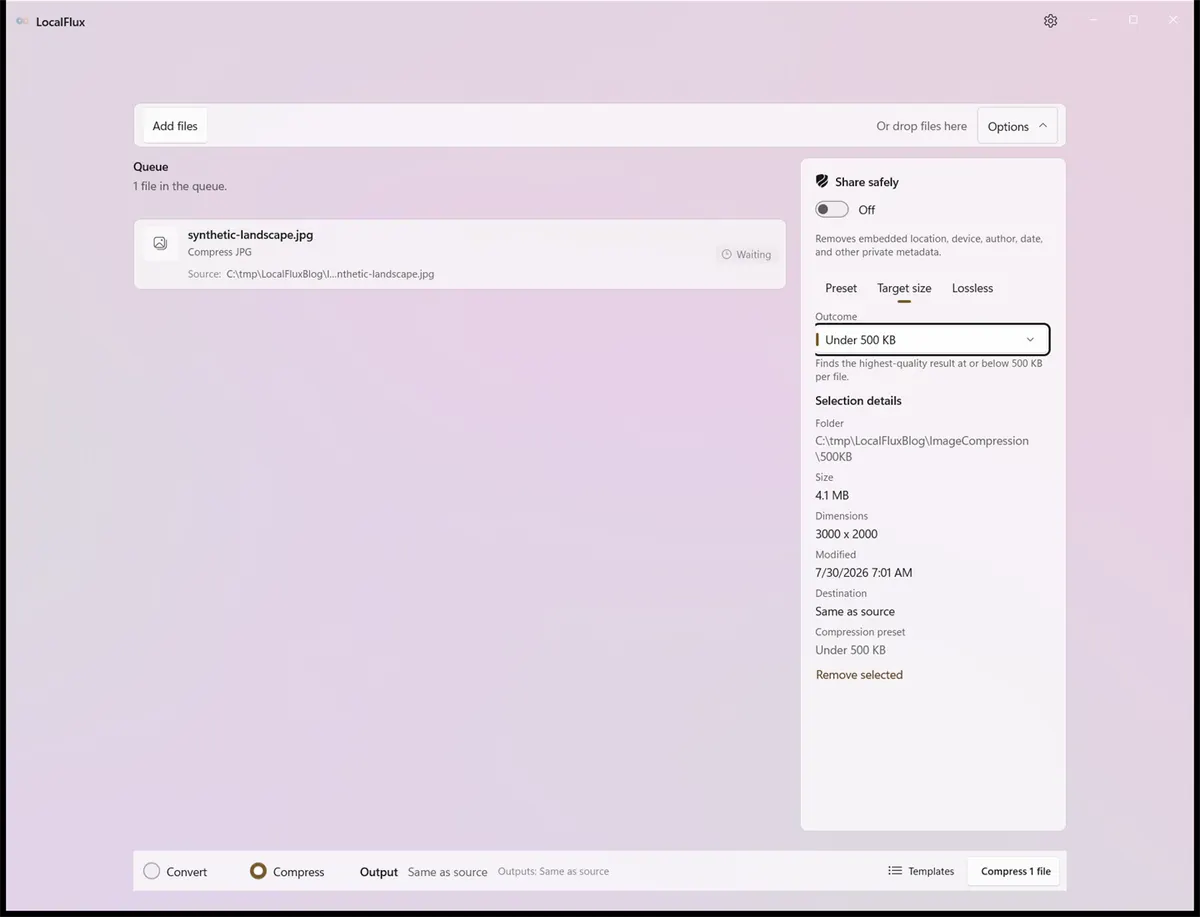
The result was 497,544 bytes, shown as 485.9 KB in the app. It remained at the full 3000 × 2000 dimensions.
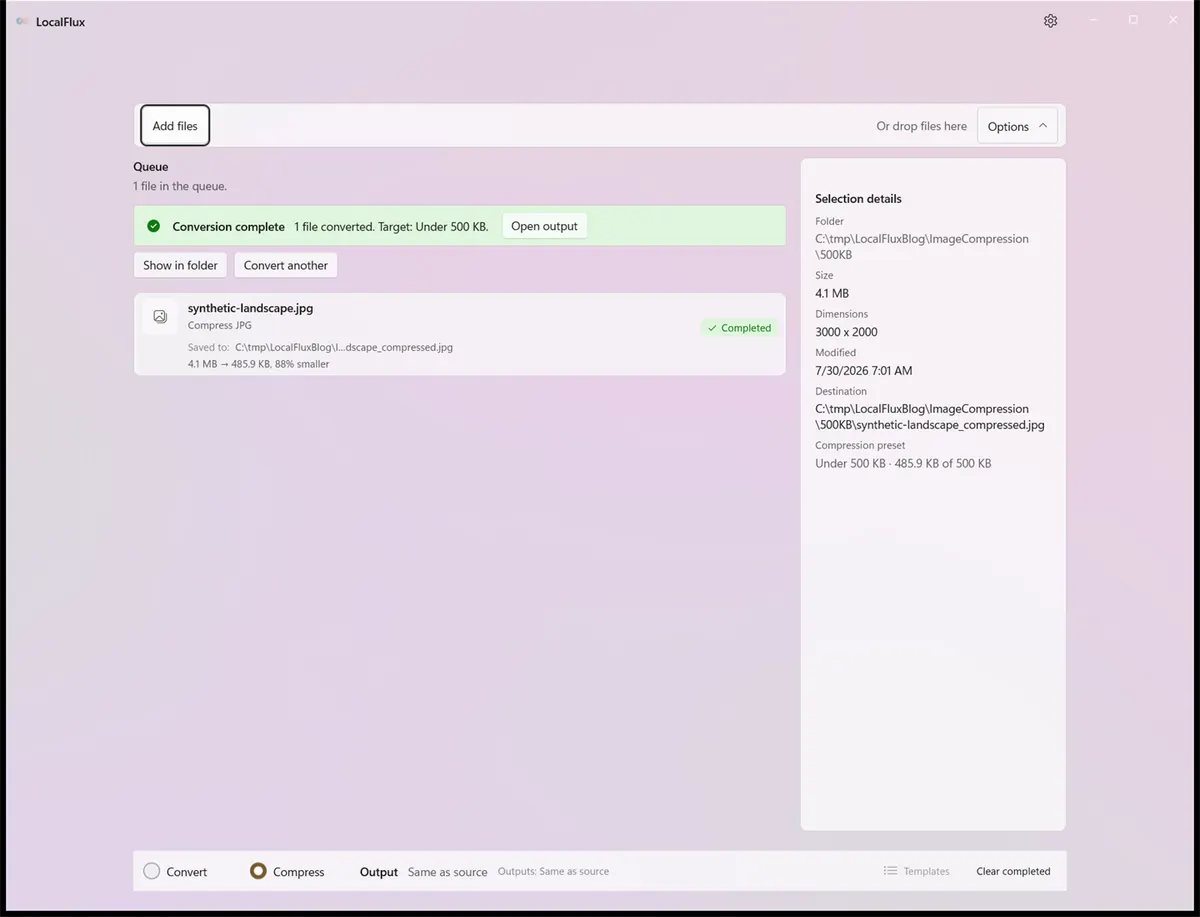
The 500 KB result retained the source dimensions because the requested ceiling could be met without downscaling this fixture.
This illustrates an important point: the target is a maximum, not a command to make every output exactly the same size. LocalFlux tries to retain the best candidate below the ceiling; it does not add filler bytes to reach the number exactly.
Inspect the actual test files
The samples used for this article are available for inspection:
- Generated source JPEG, 4,281,079 bytes
- Actual LocalFlux output under 100 KB, 101,191 bytes
- Actual LocalFlux output under 500 KB, 497,544 bytes
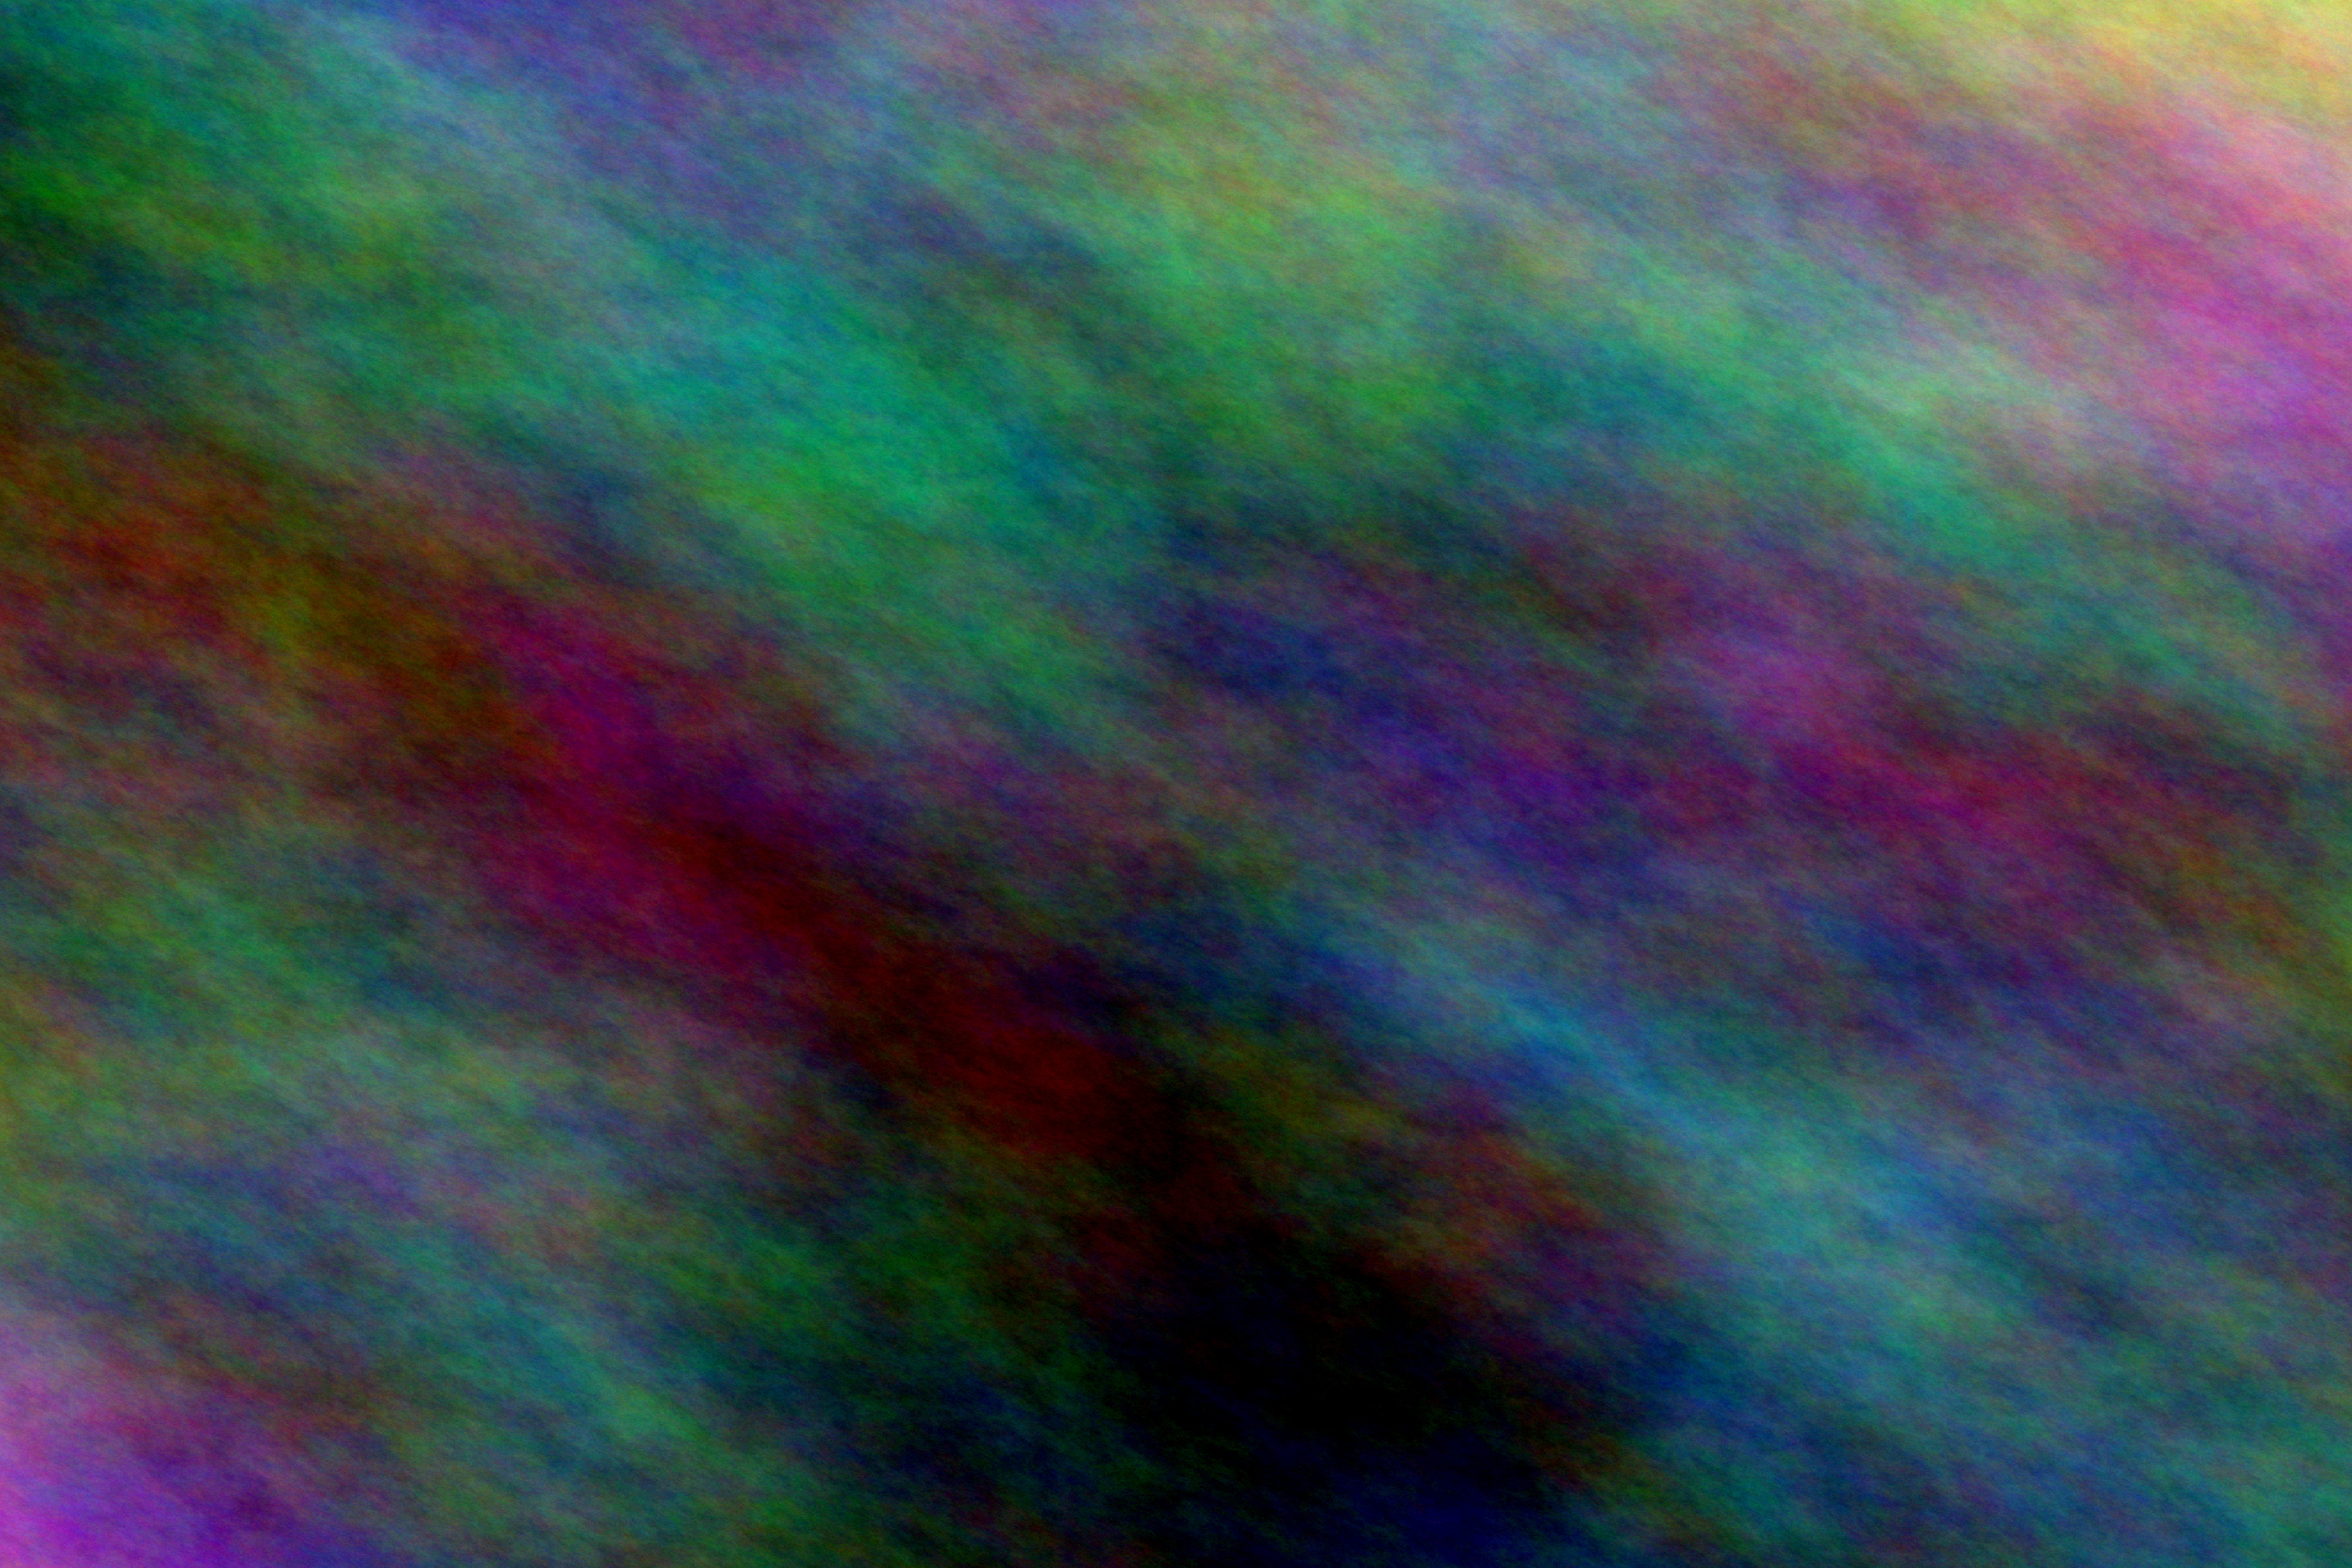
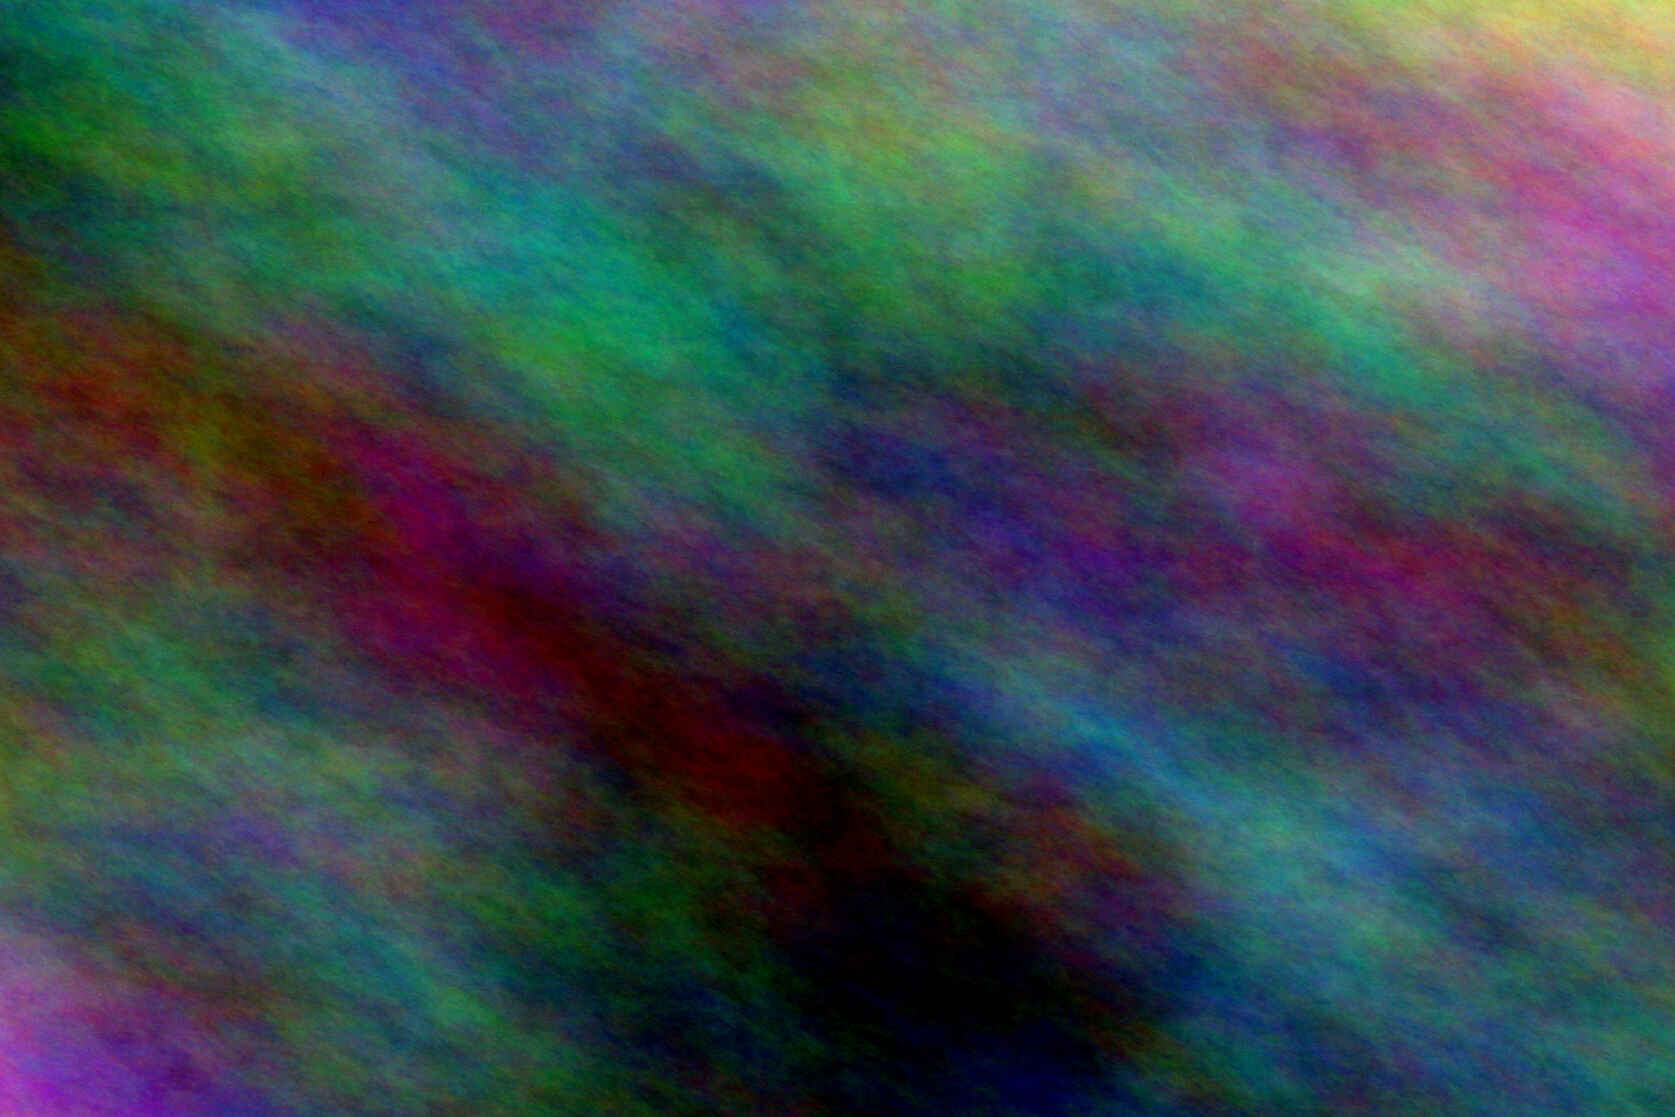
| Under 100 KB output | Under 500 KB output |
|---|---|
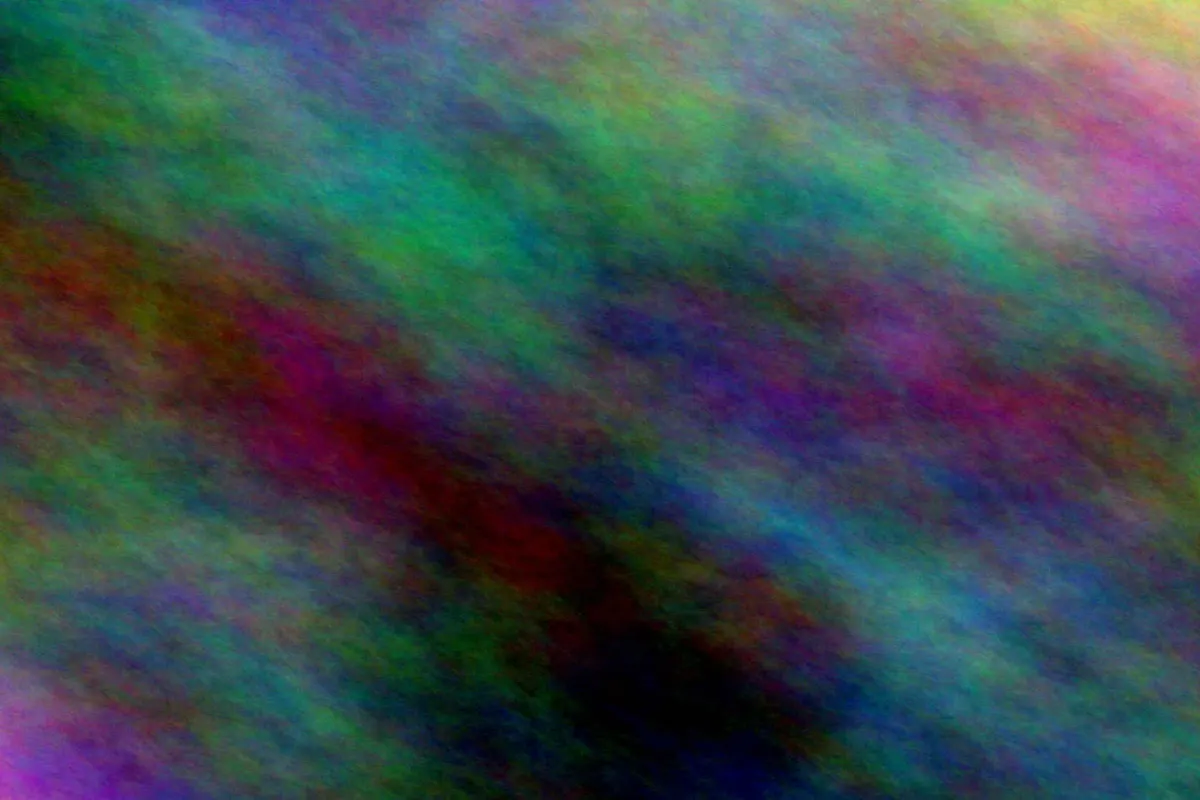 | 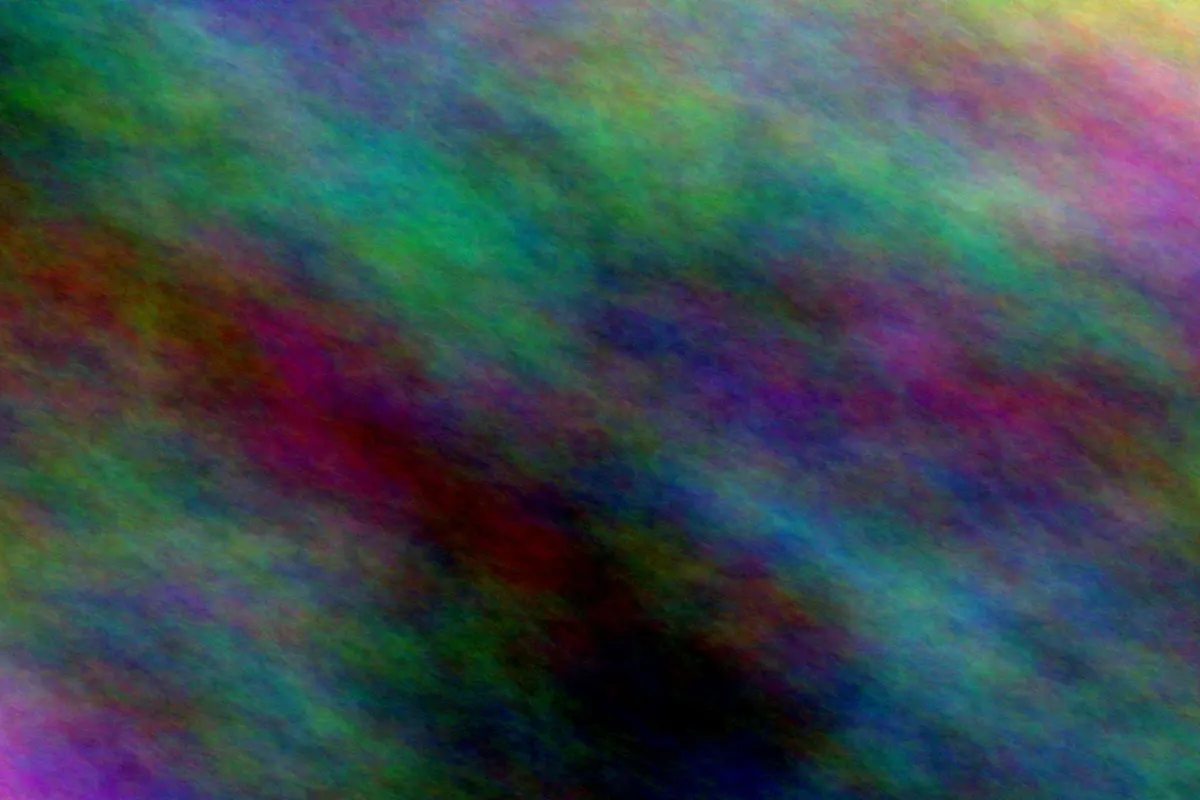 |
The 100 KB image has fewer pixels and a tighter encoding budget. The 500 KB image retains the full dimensions and more encoded detail. Browser scaling can conceal differences, so download the files and compare them at 100% when the decision matters.
Watch the workflow
Video transcript: A 4.1 MB synthetic JPG is ready in Compress mode. Target size is changed to Under 100 KB. LocalFlux searches locally and reports a completed 98.8 KB result. The same source is then shown with Under 500 KB selected and a completed 485.9 KB result. The video is an edited sequence of real ready, active, and completed app states; it is not presented as a conversion-speed benchmark.
100 KB, 500 KB, or a custom limit?
Choose the limit required by the destination, then leave a little safety margin when the receiving system is unclear about units or may modify the upload.
- Under 100 KB: useful for strict forms, thumbnails, avatars, and lightweight previews.
- Under 500 KB: gives photographs and detailed graphics substantially more room.
- Website image: targets 300 KB and a maximum 1920-pixel long edge in the tested LocalFlux version.
- Email attachment: targets 5 MB per file.
- Custom maximum: accepts a target from 10 KB to 100 MB.
Do not choose 100 KB merely because it sounds efficient. If the destination accepts 500 KB and the image contains important detail, the larger budget may be the better result.
Why resizing often matters more than another quality step
A 3000 × 2000 image contains six million pixels. If the destination displays it as a small profile image, sending all six million may provide little practical benefit.
Reducing dimensions gives the encoder fewer pixels to describe. That can be more effective than forcing an already-large image through an extremely low quality setting. The trade-off is that discarded resolution cannot be recovered from the derivative.
Microsoft’s PowerToys Image Resizer is a useful Windows alternative when you know the required pixel dimensions. It supports Fit, Fill, and Stretch modes, custom dimensions, a shrink-only option, and JPEG quality. That is a dimension-led workflow. A target-size search is preferable when the destination specifies bytes rather than width and height.
JPG, PNG, or WebP: which should you compress?
JPG
JPG is usually a practical choice for photographs without transparency. Lossy compression can produce major savings, but aggressive settings may create softness, ringing, or block artifacts around edges.
PNG
PNG is lossless and supports transparency. It is often appropriate for logos, interface captures, diagrams, and graphics with sharp edges. A detailed photographic PNG may be difficult to push under a tiny ceiling while preserving both its format and useful dimensions.
WebP
WebP supports lossy and lossless compression as well as transparency. It can be efficient for web delivery, but the receiving service must accept WebP. In LocalFlux Compress mode, the format remains the same; use an explicit conversion workflow if the destination requires another format.
What does not reliably solve an exact limit?
Putting the image in a ZIP file
JPEG, PNG, and WebP data is already compressed. A ZIP archive may save little, and many upload forms require an image rather than an archive.
Taking a screenshot
A screenshot creates a new image with screen-sized dimensions, but it is an imprecise conversion method. It can alter scaling, color, transparency, metadata, and framing while still missing the required byte limit.
Renaming the extension
Changing .png to .jpg does not convert or compress the file. It only gives the existing bytes a misleading name.
Assuming every “compress” button removes metadata
Compression and metadata removal are separate outcomes. If privacy is the goal, use an explicit safer-sharing workflow and verify the result. See How to Remove Metadata From Photos on Windows 11 Before Sharing.
A practical submission checklist
Before uploading the finished copy:
- Confirm the actual file is below the stated limit.
- Confirm the receiving service accepts its format.
- Open the output and inspect important detail.
- Check that the orientation and aspect ratio are correct.
- Confirm transparency still behaves as expected when applicable.
- Keep the original as the master copy.
- Check the filename and embedded metadata separately when privacy matters.
- Upload the compressed copy, not the source by mistake.
Frequently asked questions
Is 100 KB exactly 100,000 bytes?
Not always. File-size labels are used inconsistently across software and websites. In the LocalFlux outcome tested here, Under 100 KB used a 102,400-byte ceiling. If a portal documents 100,000 bytes explicitly, choose a custom target below that number and leave a margin.
Will LocalFlux always make the file exactly 100 KB?
No. The target is a maximum. The best verified candidate may be smaller, and an already-small source may not need re-encoding.
Why did my image dimensions change?
The encoder could not reach the requested ceiling at acceptable candidates using the original dimensions, so the target search reduced them while preserving aspect ratio. LocalFlux does not enlarge the source and does not go below its 640-pixel long-edge boundary.
Can I compress several images at once?
Yes. Add compatible JPG, PNG, or WebP images, choose one target, and start the batch. Each file is evaluated independently because equally sized sources can compress very differently. Test one representative result before processing an important large batch.
Does target-size compression preserve the original?
It did in both tests here. LocalFlux created _compressed JPG copies in the source folders. Keep independent backups of irreplaceable images regardless of the tool you use.
What happens if 100 KB is impossible?
LocalFlux can lower quality and then reduce dimensions within its bounded search. If it still cannot reach the target without crossing the minimum dimension boundary, it reports a failure instead of publishing an oversized output as successful.
Is the 100 KB result suitable for printing?
Usually not as a master. A small upload derivative may be adequate for a form, thumbnail, or on-screen preview, but printing needs depend on physical size, viewing distance, resolution, and content. Keep the full-resolution original.
Meet the limit without sending the image away
An exact upload ceiling calls for an outcome-led workflow. Add the image, choose the maximum size, let the bounded search run locally, then inspect the resulting copy.
In this controlled test, LocalFlux reduced a 4.1 MB JPEG to 98.8 KB for the strict target and 485.9 KB for the more generous target. The tighter result required fewer pixels; the 500 KB result retained the original 3000 × 2000 dimensions. Both stayed below their limits, and neither replaced the source.