
How to Convert JPG to WebP on Windows Offline
Convert JPG photos to WebP locally on Windows 11, measure the real size change, and publish faster website images with a safe JPG fallback.
On this page
- The short version
- Why JPG-to-WebP can help a website
- The files used for this test
- Step 1: Add the JPG files
- Step 2: Choose direct conversion or the website template
- Step 3: Inspect the effective options
- Step 4: Convert and review the copies
- Measured results
- Publish the WebP correctly
- Metadata and privacy remain separate
- Batch conversion without losing control
- When JPG may still be the better answer
- Frequently asked questions
- Create the WebP, measure it, then publish it
Large photographs can make a webpage feel slow long before the rest of the design has a chance to help. Converting a JPG to WebP can reduce the number of image bytes a visitor downloads, but the useful question is not whether WebP is modern. It is whether your particular WebP is smaller, still looks acceptable, and is delivered correctly by the website.
With LocalFlux on Windows 11, add one or more JPG files, choose WebP, and convert them without sending the images to an online service. For a website-oriented first pass, apply the Website image template. In the tested LocalFlux 1.0.7 build, that template selected WebP, used quality 82, kept the aspect ratio, capped the long edge at 1920 pixels without enlarging smaller images, and left metadata removal off.

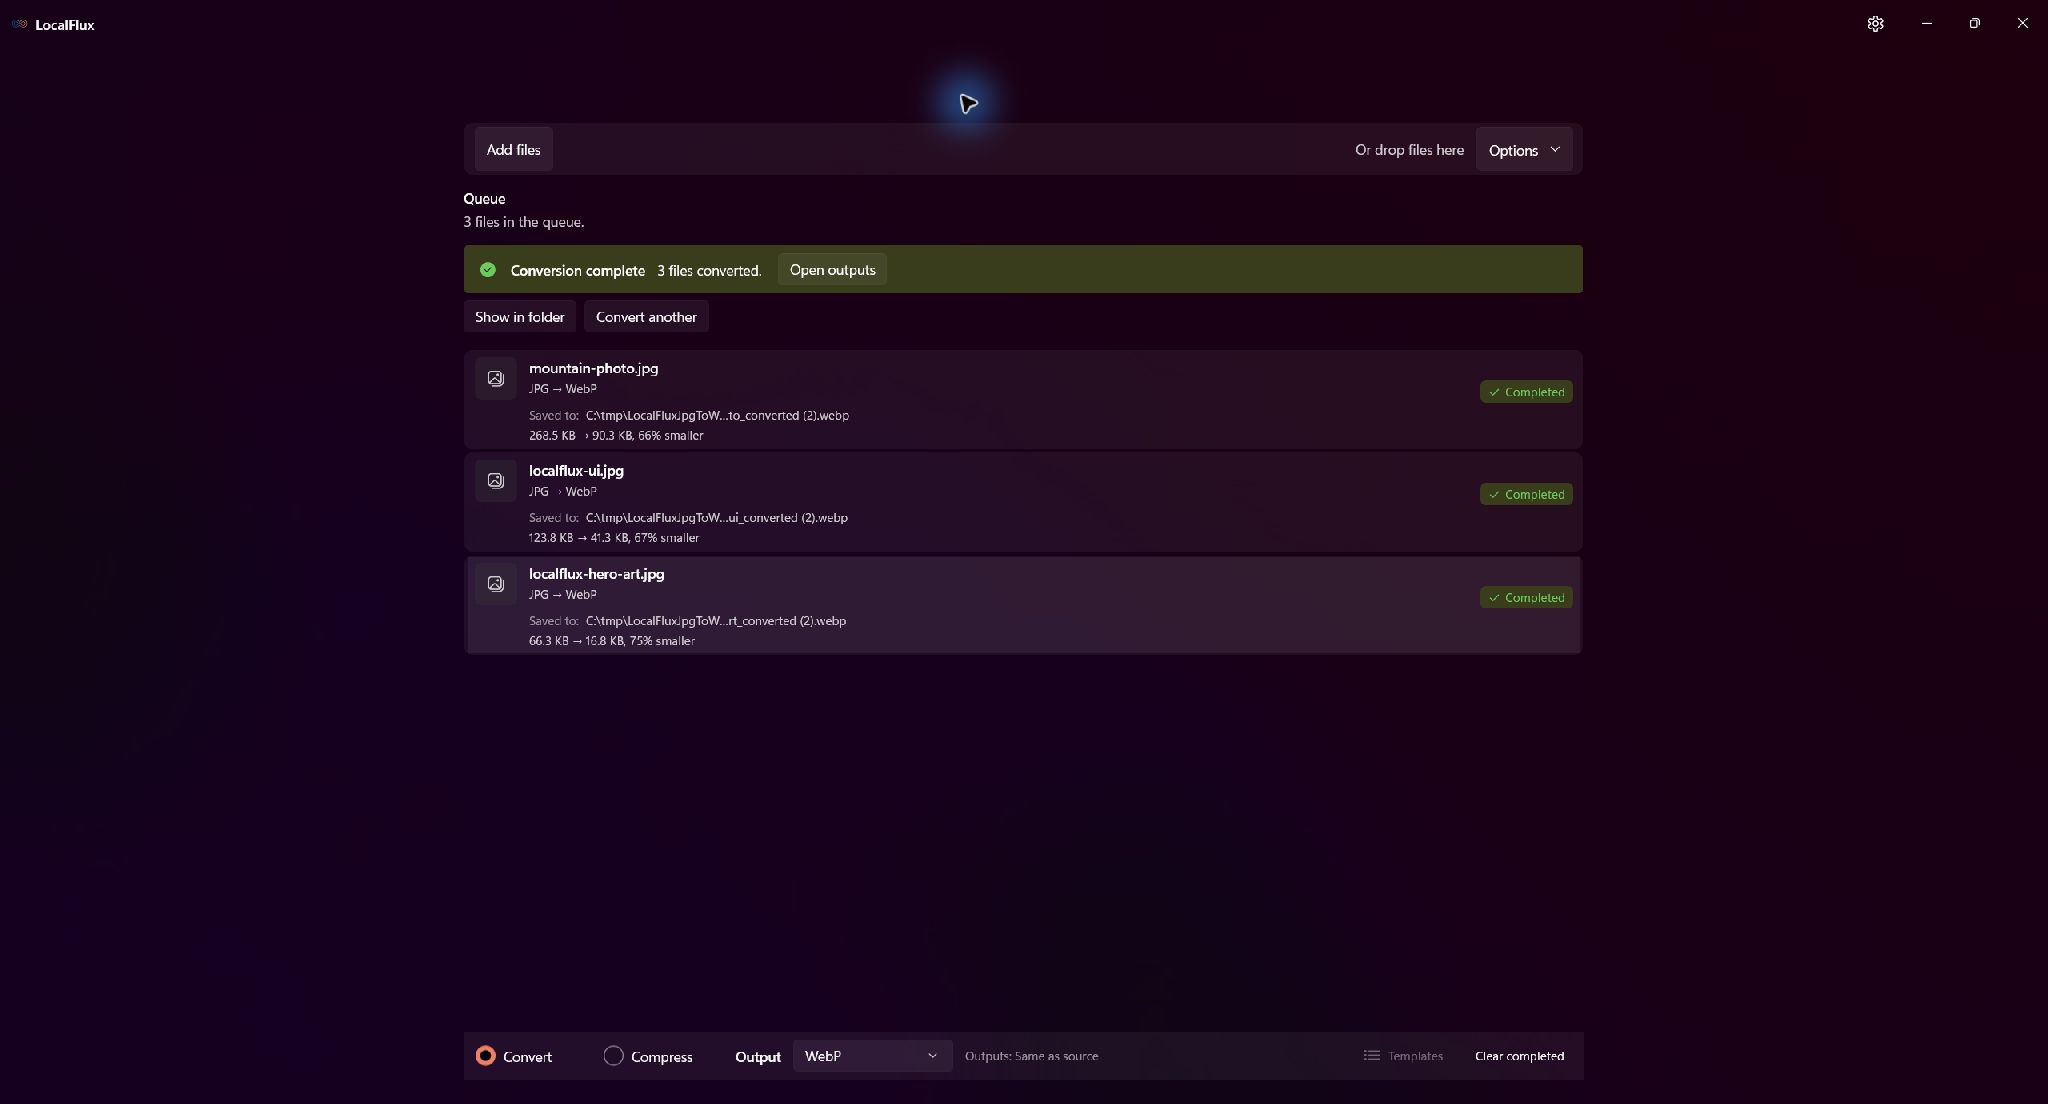
The tested website-image batch completed locally. Its three WebP files were 66%, 67%, and 75% smaller than the JPG inputs shown in LocalFlux. These measurements describe this fixture set, not a universal WebP guarantee.
Best for: photographic JPGs used in landing pages, article imagery, product pages, portfolios, and other web publishing workflows where download weight matters.
Keep the JPG originals: WebP conversion is another lossy encode. It cannot restore detail already removed by JPG compression, and the source is still the safer editing and fallback copy.
The short version
- Open LocalFlux on Windows 11.
- Add one or more
.jpgor.jpegfiles. - Keep Convert selected and choose WebP as the output.
- For web publishing, open Templates, choose Web & social, then Website image.
- Confirm the resize and quality settings before running a large batch.
- Select Convert.
- Open the new WebP files, compare detailed areas with the JPGs, and measure the actual bytes.
- Publish the WebP with explicit dimensions and a JPG fallback where your compatibility requirements call for one.
Get LocalFlux from the Microsoft Store or review the currently supported formats and routes before starting.
Why JPG-to-WebP can help a website
An image request consumes bandwidth and competes with the rest of the page. Fewer bytes can shorten the transfer, especially on a slower phone or network. That does not mean changing the extension automatically improves performance: the encoded result, displayed dimensions, caching, responsive variants, request priority, and placement on the page all matter.
Google’s image-format guidance recommends modern formats such as WebP or AVIF where they produce an appropriate quality-to-size result, while retaining an older-format path when needed. Google Search’s image SEO guidance likewise emphasizes high-quality images and speed rather than treating one format as a ranking shortcut.
JPG and lossy WebP are both delivery formats for photographic content. The practical WebP opportunity is to create a smaller delivery copy at acceptable visual quality. It is not to make a low-quality JPG sharp again. Once the JPG has discarded fine texture or introduced ringing around an edge, transcoding can only encode the pixels that remain.
Also separate three jobs that are often confused:
| Job | Relevant action |
|---|---|
| Change the browser delivery format | Convert JPG to WebP |
| Reduce oversized pixel dimensions | Resize to the largest size the layout actually displays |
| Remove location, device, author, or date metadata | Use a supported metadata-removal workflow and verify the copy |
The Website image template combines the first two conservatively, but it does not enable Share safely and it does not promise a target byte count.
The files used for this test
This walkthrough uses three rights-cleared JPGs under C:\tmp\LocalFluxJpgToWebPBlog:
- a 1440 × 960 photo-like mountain scene;
- a 1320 × 940 LocalFlux interface screenshot; and
- a 1920 × 1080 LocalFlux promotional image.
The photograph tests natural texture and gradients. The interface capture tests small text and hard edges, where a second lossy encode can be easier to notice. The promotional image tests large flat areas and subtle gradients. All three are opaque, so this article does not duplicate the transparency and graphic-focused advice in the PNG-to-WebP guide.
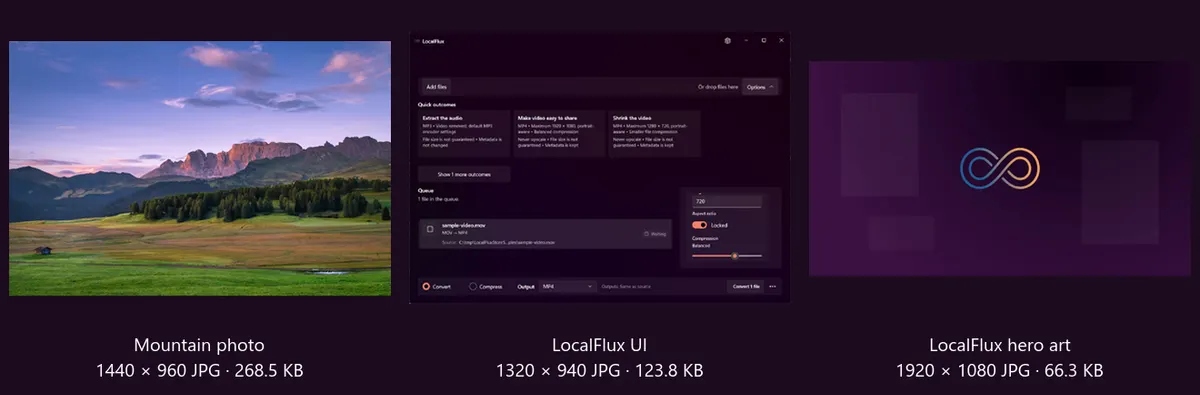
The inputs cover a photograph, sharp UI content, and a wide website-style hero. The neutral working path and repository-controlled media avoid exposing a personal Windows account or customer asset.
Step 1: Add the JPG files
Drag the JPG files onto LocalFlux or select Add files. Check that each queued row reads JPG → WebP before converting. A batch uses one output choice and one set of visual settings, so separate files into different runs if they need different delivery dimensions or quality levels.
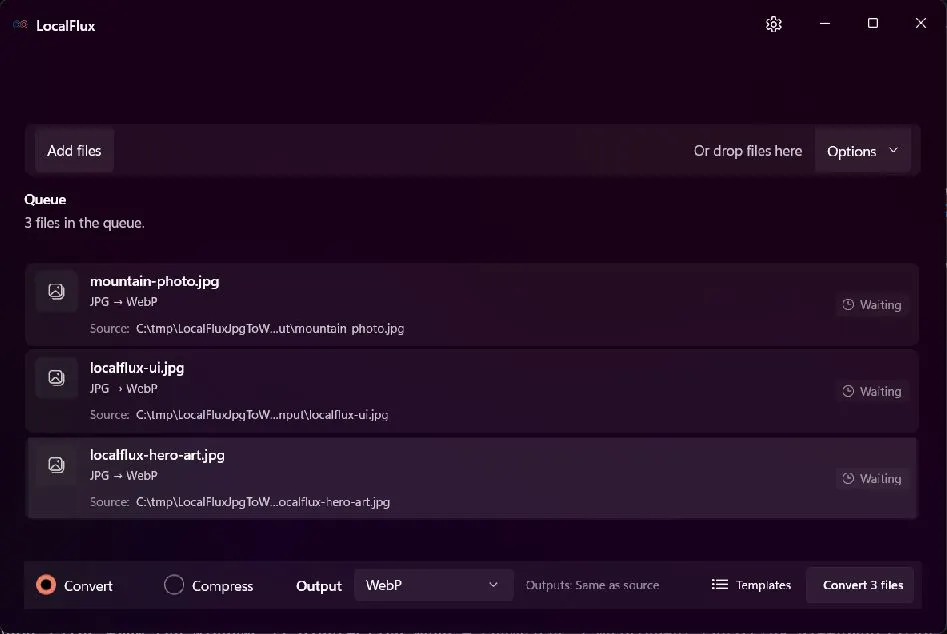
WebP is selected once for the batch. LocalFlux will write new copies beside the sources rather than replacing the JPG files.
For an unfamiliar image library, start with a representative subset instead of a whole archive. Include a detailed photograph, a face if the collection contains portraits, a gradient, and an image with text or a logo. A quality setting that looks fine on foliage may be too soft for lettering.
Step 2: Choose direct conversion or the website template
There are two useful starting points.
Direct conversion changes the format to WebP while leaving the dimensions at their original values and using the encoder’s default quality behavior. It isolates the format change and makes a useful baseline.
Website image applies a deliberate web-delivery profile. Open Templates, choose Web & social, then Website image. The tested build applied these settings:
- output: WebP;
- quality: 82%;
- resize rule: fit within a 1920-pixel long edge;
- aspect ratio: locked;
- enlargement: never; and
- metadata removal: off.
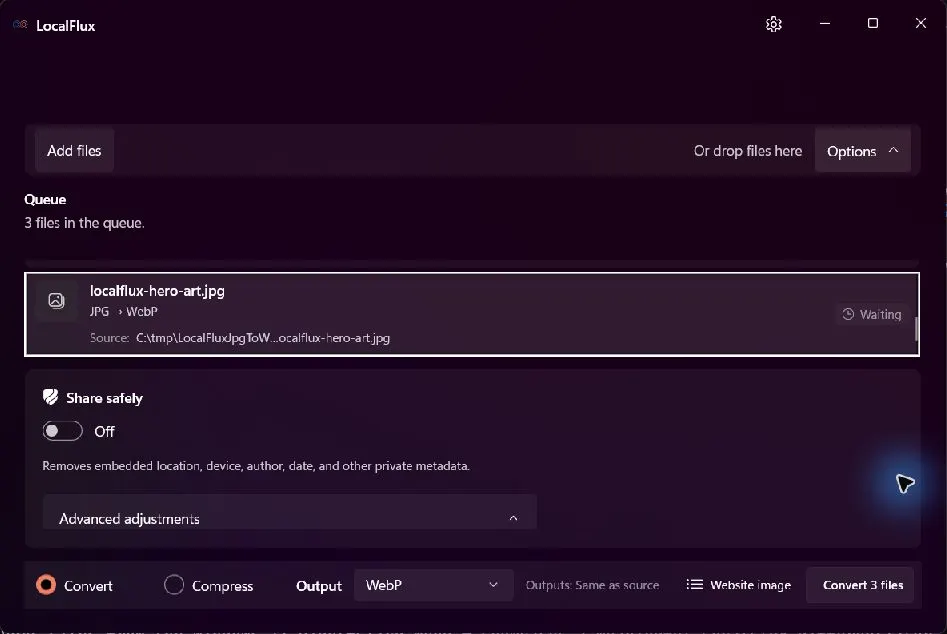
The selected Website image outcome is visible in the command bar. Share safely remains off, so this is a web-delivery template rather than an automatic privacy-cleanup step.
The 1920-pixel rule is a ceiling, not a command to stretch everything to 1920 pixels. None of the three test files exceeded the ceiling, and the 1920 × 1080 hero was already exactly at it. All three website-template outputs therefore retained the JPG dimensions. Their extra savings over direct conversion came from the quality setting, not resizing.
Step 3: Inspect the effective options
Open Options and expand Advanced adjustments. Confirm the values instead of assuming a template name will always represent the same implementation in every future release.
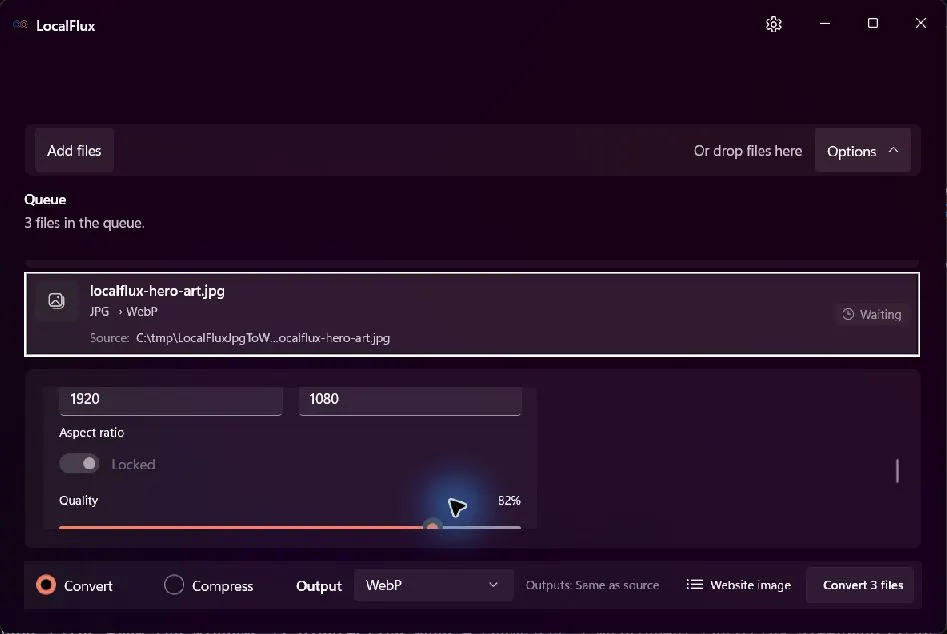
For the selected 1920 × 1080 hero, the website preset retained 1920 × 1080, locked the aspect ratio, and used quality 82. The preset never enlarges a smaller source.
Quality is not a universal cross-format scale. A value of 82 in one WebP encoder is not guaranteed to match quality 82 in another tool, nor does it promise a particular byte count. Treat it as a reproducible starting point inside this workflow. Compare the result rather than choosing a number by folklore.
If your layout displays an image at only 800 pixels wide, a 1920-pixel file can still be unnecessarily large. Resize to the largest real rendered size you need, or create responsive variants for several layout widths. Conversely, do not downscale a source below a required high-density display size just to win a file-size comparison.
Step 4: Convert and review the copies
Select Convert 3 files. LocalFlux creates separately named .webp files and keeps the JPGs in place. After completion, inspect the output in a browser and at 100% zoom. Look closely at:
- hair, foliage, fabric, and other fine texture;
- small type and one-pixel interface lines;
- halos or ringing around high-contrast edges;
- banding in skies and dark gradients;
- color and orientation; and
- the exact dimensions and bytes written.
Do not judge only from a contact sheet. At the display size below, the pairs look close. At native scale, the website WebPs are visibly a little softer in the most demanding fine-detail and interface regions because they are second-generation lossy copies. That tradeoff may be reasonable for delivery, but the JPG should remain the source or fallback.
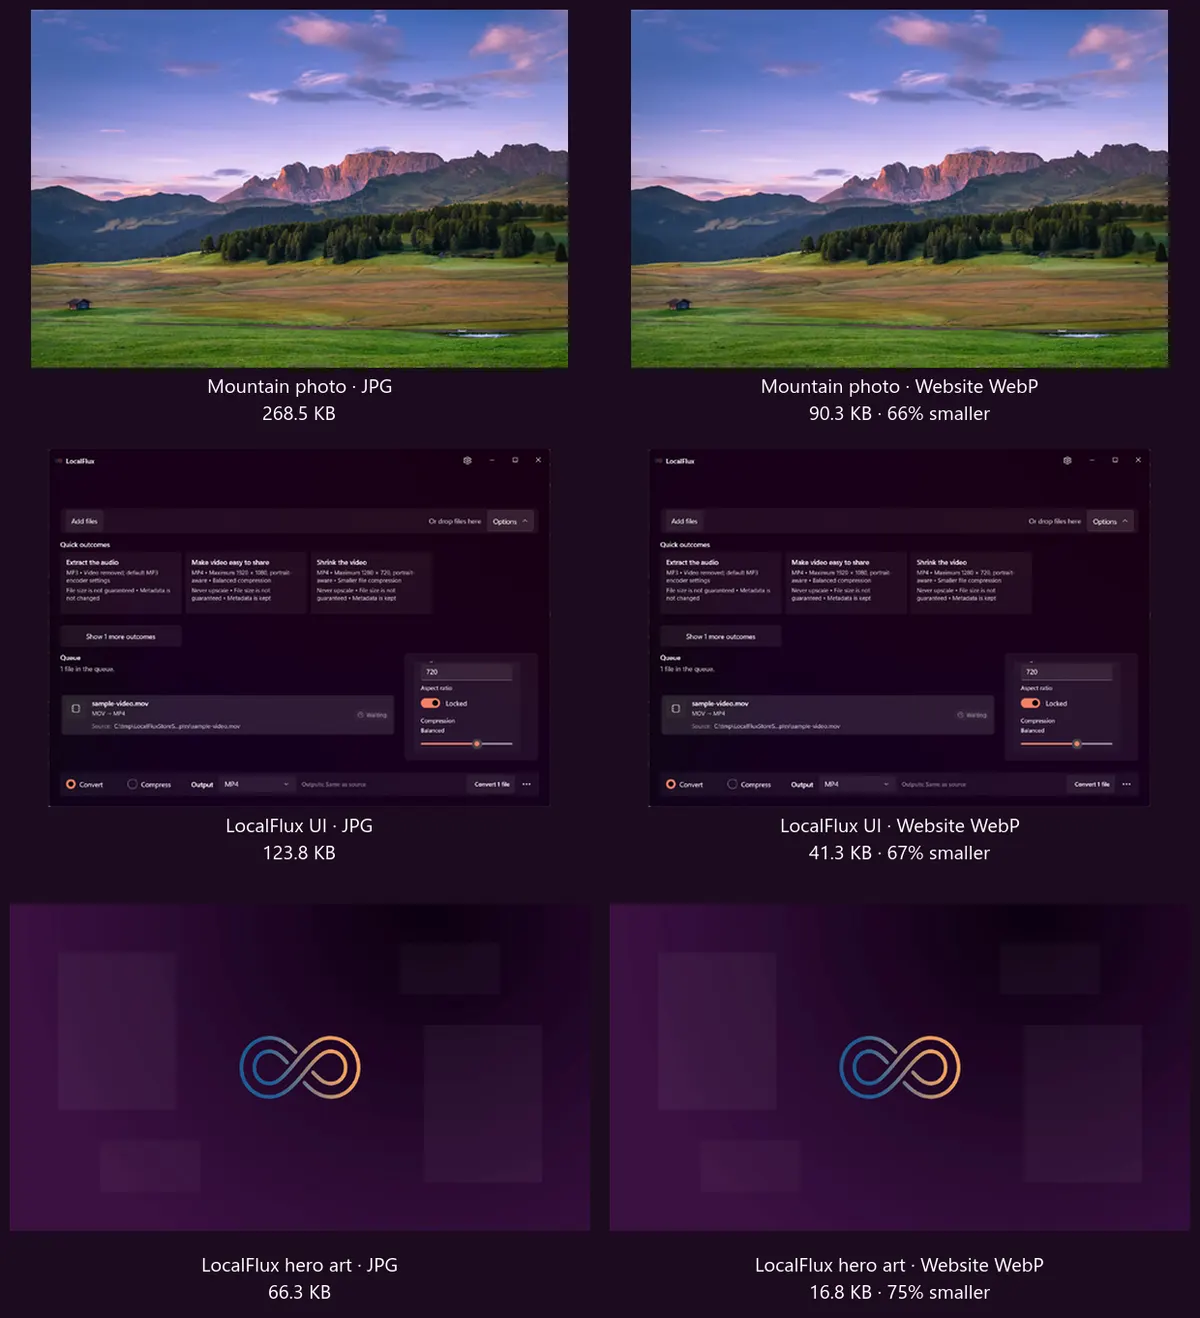
All three website WebPs retained their dimensions and were substantially smaller in this test. The comparison does not claim pixel identity or lossless conversion.
Measured results
The direct conversion and website-template runs used the same three source files and the same packaged LocalFlux 1.0.7 build.
| Fixture | JPG input | Direct WebP | Direct change | Website WebP | Website change | Dimensions |
|---|---|---|---|---|---|---|
| Mountain photo | 274,913 bytes | 169,980 bytes | 38.2% smaller | 92,448 bytes | 66.4% smaller | 1440 × 960 |
| LocalFlux UI | 126,755 bytes | 64,626 bytes | 49.0% smaller | 42,334 bytes | 66.6% smaller | 1320 × 940 |
| LocalFlux hero art | 67,861 bytes | 28,880 bytes | 57.4% smaller | 17,216 bytes | 74.6% smaller | 1920 × 1080 |
| Total | 469,529 bytes | 263,486 bytes | 43.9% smaller | 151,998 bytes | 67.6% smaller | Not applicable |
The handoff includes the exact mountain JPG, direct mountain WebP, and website mountain WebP; the UI JPG, direct UI WebP, and website UI WebP; and the hero-art JPG, direct hero WebP, and website hero WebP used for these measurements.
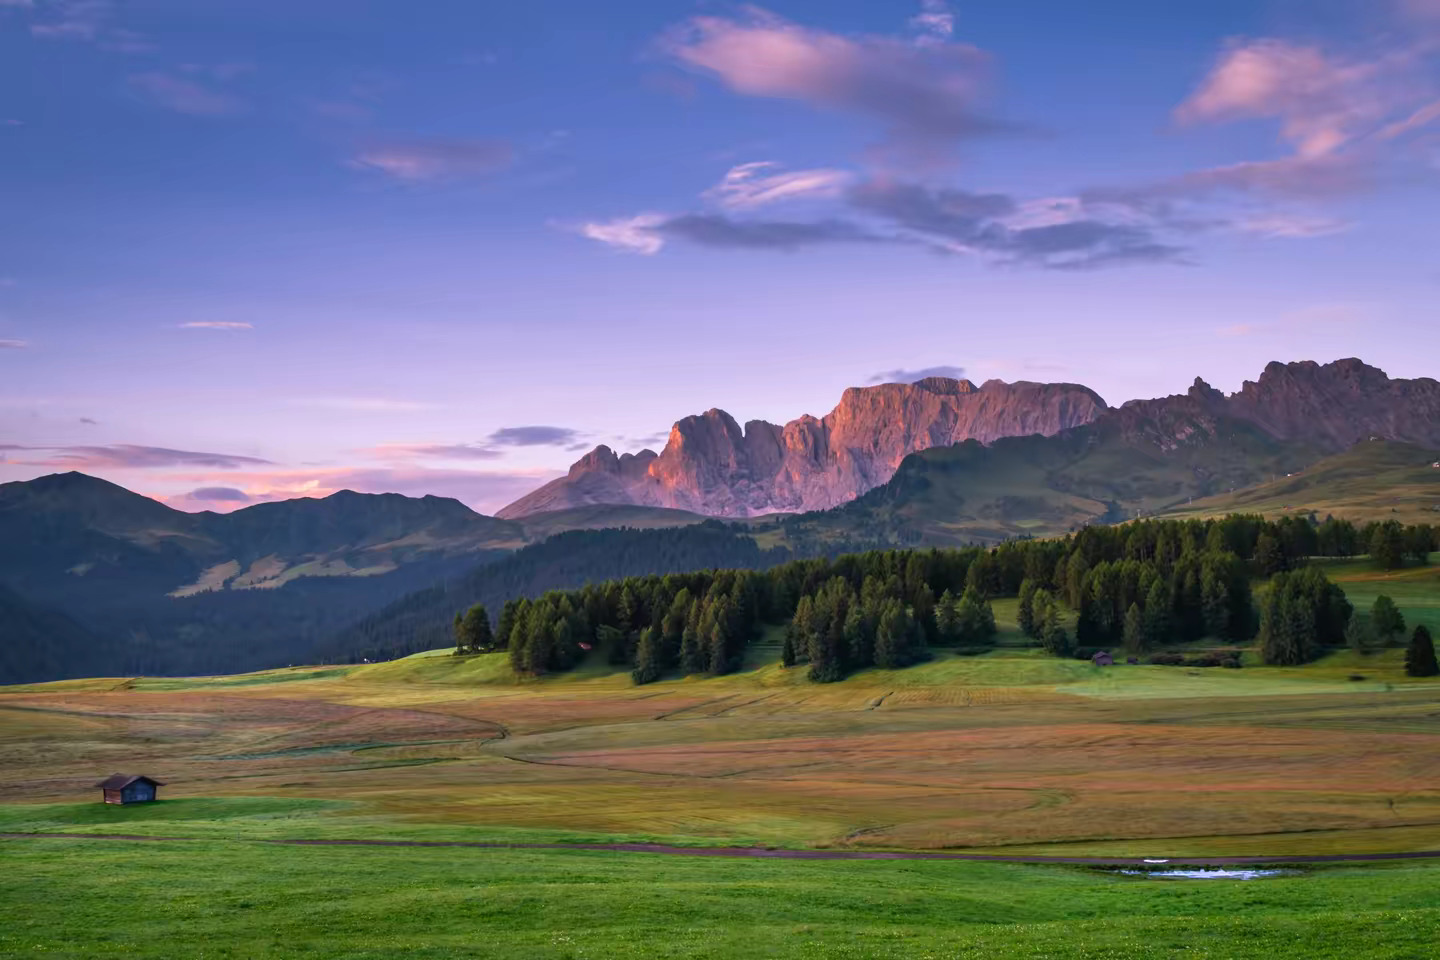
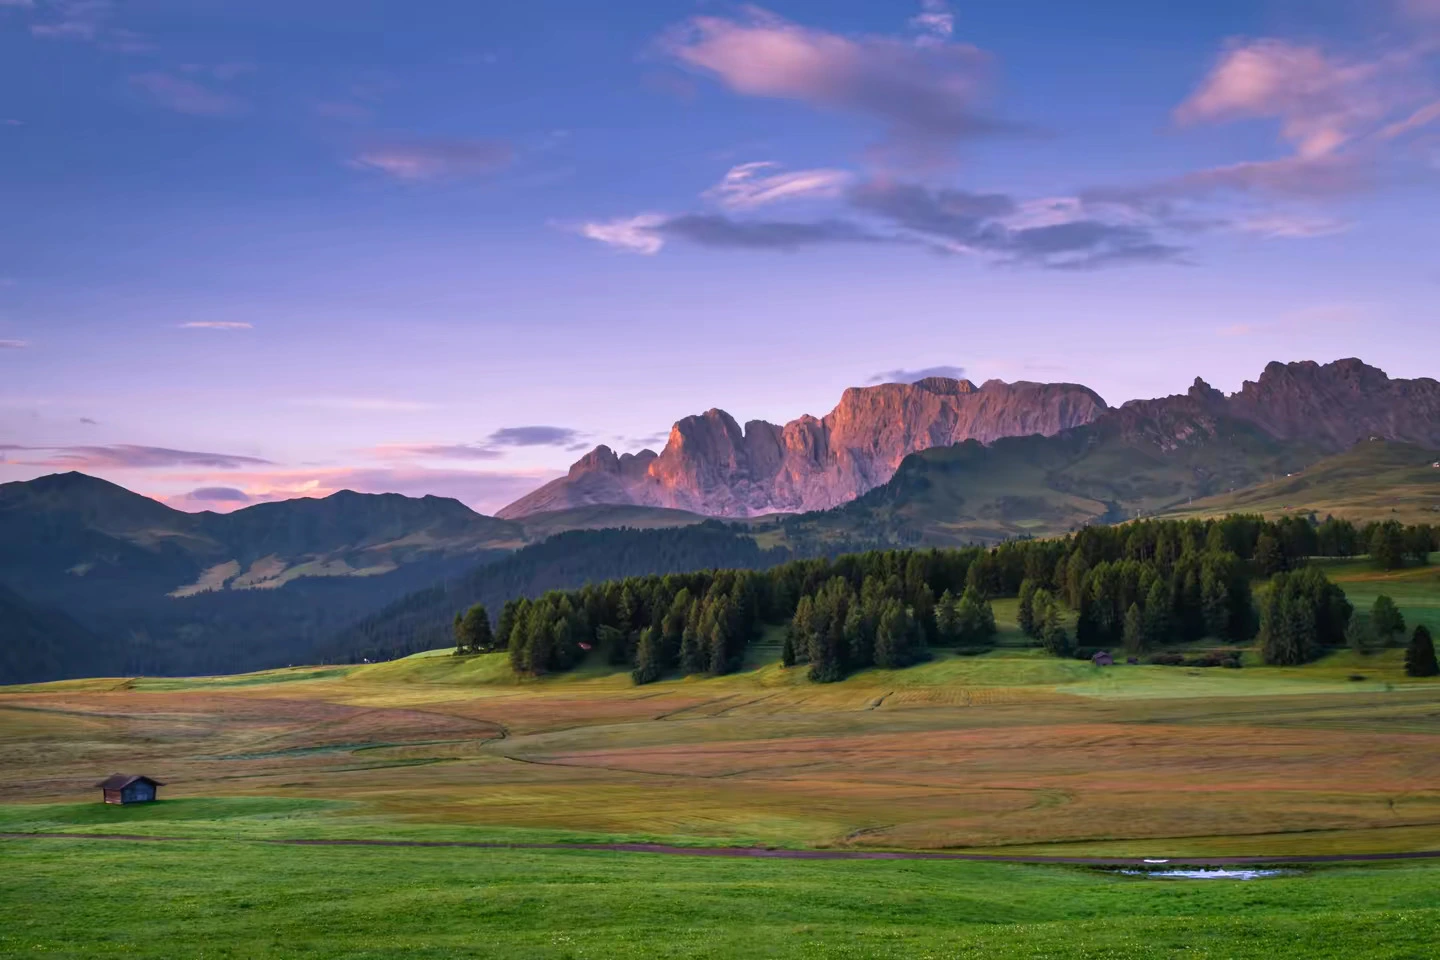

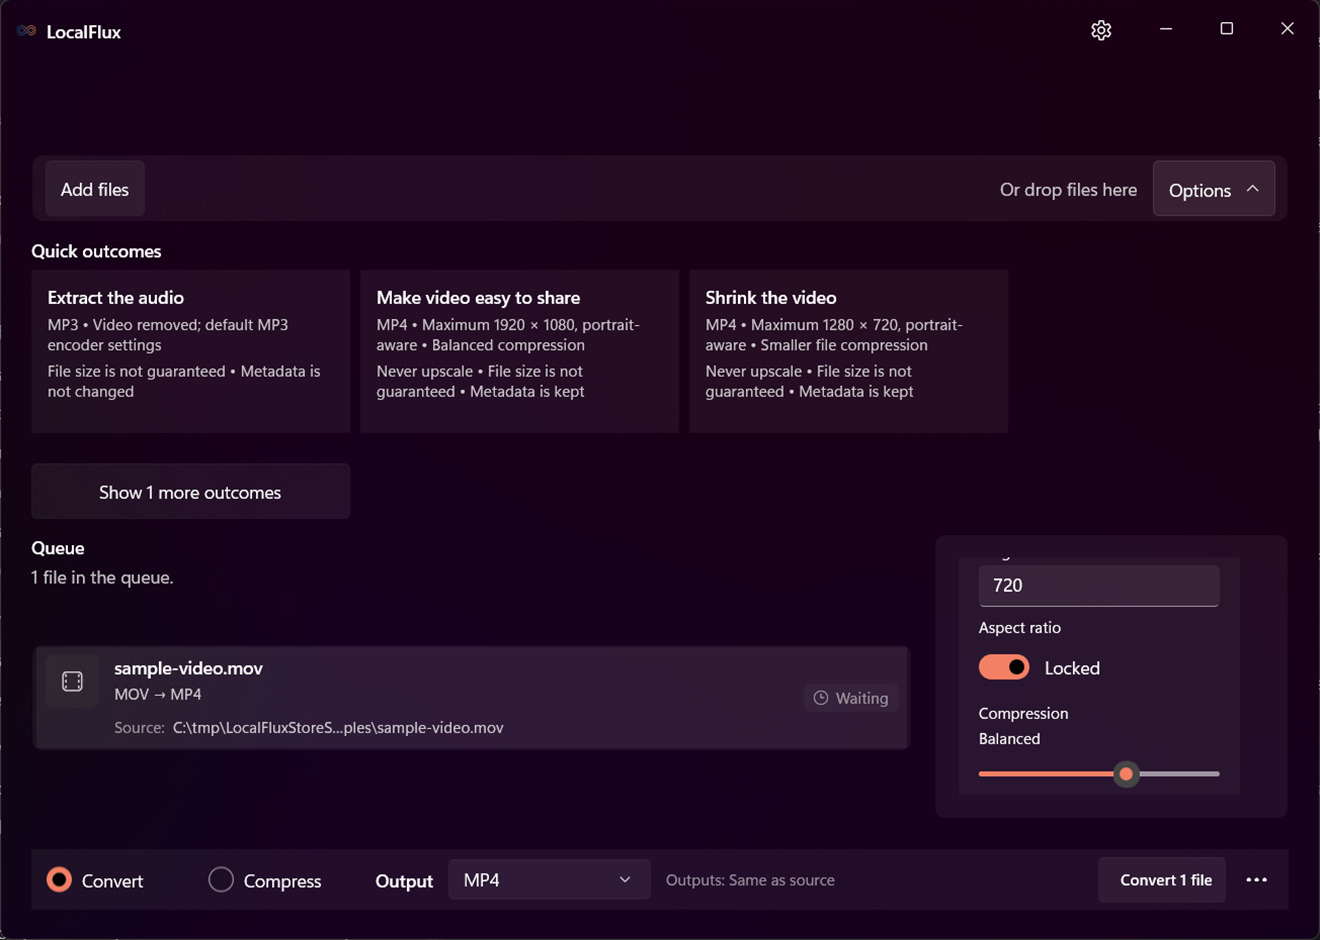



The website-template batch was 42.3% smaller than the direct WebP batch in aggregate. That is not proof that quality 82 is correct for every site. It shows why a website-oriented quality decision can matter as much as choosing WebP.
The bundled inspection tool reported all outputs as valid, opaque, static WebP files at the expected dimensions. The mountain JPG exposed an EXIF profile, and both its direct and website-template WebPs also exposed an EXIF profile. The other two inputs and outputs exposed no profiles. Source SHA-256 hashes were unchanged after both runs.
These results are deliberately fixture-specific. An already optimized JPG can produce a smaller saving, no saving, or even a larger WebP at an aggressive quality setting. Measure the output and reject a conversion that does not improve the delivery asset enough to justify another copy.
Read percentages in context
A percentage is useful only when the denominator is visible. Saving 70% from a tiny thumbnail may remove fewer bytes than saving 20% from a large hero. For this batch, the website template removed 317,531 bytes in total: roughly 310 KiB before HTTP compression and transport overhead. The mountain photograph contributed most of that absolute reduction because it was the largest source.
Also distinguish file size from rendered size. A browser can display a 1920 × 1080 file at 600 CSS pixels wide, but the download is still the full encoded asset unless responsive selection supplies a smaller candidate. Conversely, CSS that stretches a 600-pixel file to 1200 pixels cannot recreate missing detail. The publishing pipeline needs both an appropriate encoding and appropriate intrinsic dimensions.
For a repeatable performance audit, record the original and output bytes, confirm the production URL, then test the page on a representative mobile connection. Avoid claiming a fixed load-time improvement from a local file-size comparison: latency, cache state, server location, request priority, and competing resources all affect what a visitor experiences.
Publish the WebP correctly
Generating a WebP file is only half the task. The page still needs valid markup, stable layout dimensions, useful alternative text, and an appropriate fallback policy.
The HTML <picture> element lets the browser choose a supported source while retaining an <img> fallback:
<picture>
  <source srcset="mountain-photo.webp" type="image/webp">
  <img
    src="mountain-photo.jpg"
    width="1440"
    height="960"
    alt="Mountain meadow at sunset"
    decoding="async">
</picture>
Put the preferred WebP source first and keep the <img> element last. The width and height attributes give the browser the image’s aspect ratio before it downloads, helping the layout reserve the right space. CSS can still make the rendered image responsive:
img {
  max-width: 100%;
  height: auto;
}
If the design serves meaningfully different widths, create real variants and use srcset and sizes so a narrow viewport does not download a desktop-sized file. Do not invent a srcset that points several width descriptors at the same underlying image.
For below-the-fold images, native loading="lazy" can avoid work until the image approaches the viewport. Do not lazily load the likely above-the-fold hero or Largest Contentful Paint image. web.dev’s browser-level lazy-loading guidance recommends loading images visible in the first viewport eagerly because deferring them can delay rendering instead of helping it.
Finally, configure the server or static host to send WebP as image/webp, use long-lived cache headers for versioned assets, and verify the production response in browser developer tools. A perfectly encoded file with the wrong MIME type, a broken URL, or no cache policy is not a finished optimization.
Before considering the image shipped, confirm this short production checklist:
- the WebP URL returns successfully and reports
image/webp; - the fallback URL still works when the WebP source is unavailable;
- the rendered aspect ratio matches the file dimensions;
- mobile layouts receive an appropriately sized candidate;
- the hero is requested early instead of lazily; and
- below-the-fold images do not all compete with critical content at startup.
Metadata and privacy remain separate
Converting to WebP does not automatically sanitize a photograph. The EXIF-bearing mountain image retained an EXIF profile in both tested workflows because Share safely was off. That is consistent with the website template’s visible summary: metadata is kept.
If an image will be published publicly and embedded location, device, author, or date information is a concern, use a supported metadata-removal workflow and inspect the output afterward. Read Does file conversion remove EXIF metadata? for the difference between changing formats and removing private metadata.
Removing metadata can reduce bytes slightly, but privacy should be an explicit publishing decision rather than a hidden performance trick. Keep any metadata your legal, editorial, accessibility, or asset-management workflow actually requires.
Batch conversion without losing control
The same process scales to a larger compatible folder, but a website rarely needs every photograph at one identical width. Group files by placement and expected rendered size:
- Test a representative sample from the image set.
- Separate heroes, article images, thumbnails, and UI captures if their dimensions differ.
- Apply one appropriate output and size policy per batch.
- Compare the first results at native scale.
- Record or automate the publishing names instead of manually guessing which copy is current.
- Keep the JPG sources outside the generated-asset directory.
LocalFlux writes one output per ready row. A failed or malformed file should be reviewed individually rather than assuming that every .jpg extension identifies a healthy JPEG. For a broader image-library workflow, see How to batch-compress images on Windows.
When JPG may still be the better answer
Keep serving JPG when it is already compact enough, a required destination does not accept WebP, or another WebP copy adds operational complexity without a worthwhile byte reduction. A fallback can also be useful for old embedded webviews, email clients, content-ingestion systems, or downstream tools even when current mainstream browsers support WebP.
Do not convert a JPG to WebP and then back to JPG as an editing cycle. Repeated lossy encoding accumulates damage. Make edits from the best available source and generate delivery assets once near the end of the publishing pipeline.
For logos, icons, transparent cutouts, and crisp diagrams, start with the source format that preserves the required edges and alpha channel. The existing PNG-to-WebP walkthrough owns that job. For a broader explanation of opening and converting WebP files, see the WebP survival guide.
Frequently asked questions
Does WebP always make a JPG smaller?
No. It did for all three tested images, but content, source quality, output quality, dimensions, profiles, and encoder behavior determine the result. Compare actual bytes.
Does JPG-to-WebP improve image quality?
No. A lossy WebP can be an efficient delivery copy, but it cannot recover detail already discarded by JPG. It adds another encode, so inspect fine details before publishing.
Did the website template resize these files?
No. All three inputs were already at or below its 1920-pixel long-edge ceiling. Their dimensions remained 1440 × 960, 1320 × 940, and 1920 × 1080.
Does the conversion remove EXIF metadata?
Do not assume so. The EXIF-bearing mountain JPG and both tested WebP outputs exposed an EXIF profile. Metadata removal was off and must be handled as a separate verified step.
Are the original JPGs overwritten?
No in this workflow. LocalFlux wrote new WebP copies beside the sources, and the three post-conversion JPG hashes matched their pre-conversion hashes.
Should every website use a JPG fallback?
Not necessarily. Current mainstream browsers support WebP, but your audience may include older webviews or non-browser systems. The <picture> pattern provides a straightforward fallback when your compatibility policy requires it.
Is WebP enough to make a page fast?
No. Use appropriately sized responsive images, explicit dimensions, effective caching, and sensible loading priority. Image format is one part of delivery performance.
Create the WebP, measure it, then publish it
The reliable workflow is simple: preserve the JPG, create a WebP delivery copy locally, compare the result at native scale, and confirm the production page serves the correct asset. In this test, the website-oriented batch reduced 469,529 input bytes to 151,998 bytes without resizing any image. The measured saving is useful evidence; the retained originals and honest quality check are what make the workflow safe.
Get LocalFlux from the Microsoft Store or review the supported formats and routes.